Cool Science Experiments for Hot Summer Days
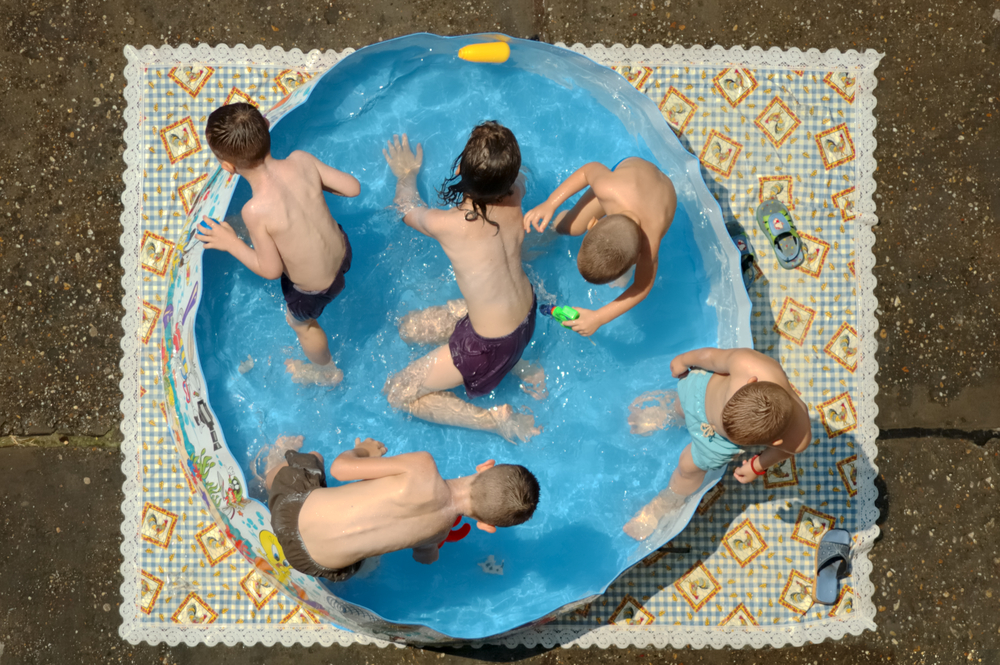
On hot summer days, everyone is looking for ways to cool off. These experiments are perfect to do outside where spills don’t matter, and a plastic wading pool makes a perfect laboratory. This is a great time to wade into some fun summer science.
Buoyancy
How do heavy ships, made of metal, float in the water? Buoyancy is a word that describes the upward force of a fluid that pushes against the weight of an object immersed in it. Objects float because of this buoyant force.
What you will need:
- Large container of water (such as a plastic washtub or your wading pool)
- Paper towels
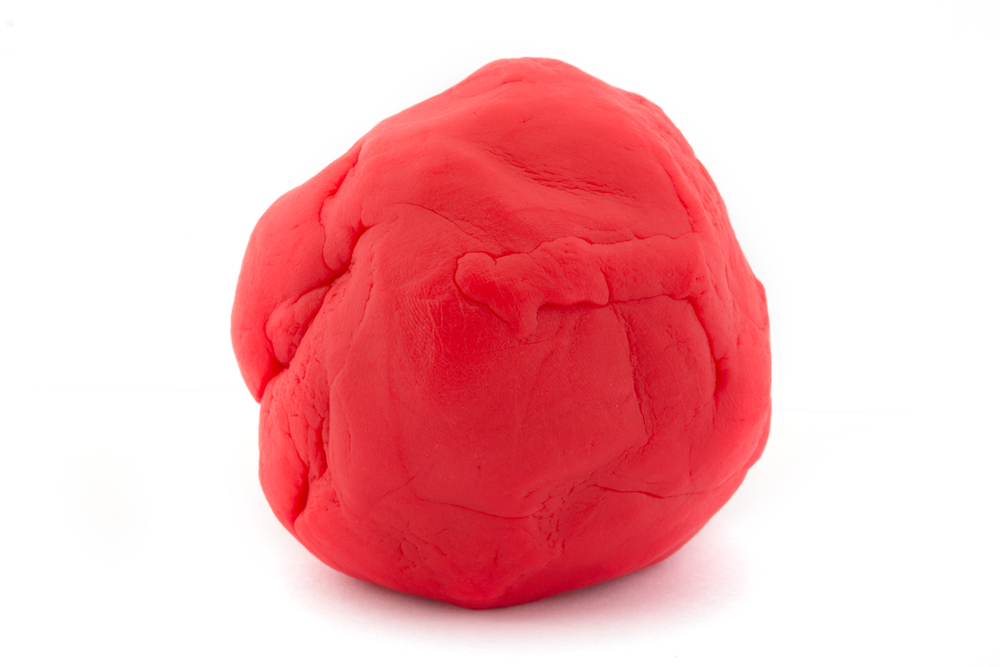
- Modeling clay
- Small objects (these should all be of about the same weight for example – coins of all the same denomination or perhaps fishing weights)
What to do:
- Take a small handful of clay and form it into a ball – about the size of a golf ball is good.
- Put the ball of clay into the water – does it float?
- Take the ball of clay out of the water and pat it dry with a paper towel
- Form the clay ball into a boat shape and put it into the water – experiment until your clay boat floats.
Experiment with different shapes using the same amount of clay. Add weights, one at a time to each of your clay boats. Which shapes will carry the most weight before sinking. Why are some shapes more buoyant than others?
Water displacement
Why did some clay boats float better than others? Why did the ball of clay sink while the same amount of clay formed into a boat shape was able to float? The secret is in the amount of water moved out of the way (displaced) by the different shapes.
What you will need:
- A small mixing bowl
- A larger mixing bowl or plastic washtub
- A measuring cup
- A pitcher of water
- Modeling clay
What to do:
Put the smaller mixing bowl into the larger bowl or washtub and use the pitcher to fill the smaller bowl up to the brim with water. Be very careful to completely fill the smaller bowl but do not allow any water to spill over the sides.
Make another clay golf ball and gently place into the bowl of water. Do not touch the water with your fingers. Use the measuring cup to measure the amount of water that spilled out over the edges of the small bowl into the washtub.
Reset the experiment by drying the washtub and replacing the smaller bowl filled to the brim with water inside it. Using the exact same amount of clay, form it into your best clay boat shape and gently place it in the water. Use the measuring cup again to measure the amount of water that was displaced by the boat. Which clay shape displaced more water – the ball or the boat?
Backyard submarine
What you need:
- Large tub or pool of water
- 2 rubber bands
- Plastic soda bottle – 2 liter size
- 4 quarters
- Sharp knife or scissors
- Modeling clay
- 1 to 2 feet of aquarium tubing from the pet store, or a flexible straw
What to do:
Caution!!! When using a sharp knife or scissors, please be very careful! Better yet, ask an adult to help with this part!
Carefully cut two holes in one side of the plastic soda bottle. Make the holes in a straight row spaced equally apart.
Use rubber bands to secure 2 coins near each of the holes.
Put one end of the aquarium tubing, or a flexible straw, into the bottle and use modeling clay to seal the top of the bottle around the tubing or straw.
Hold your submarine underneath the water. Allow water to fill the bottle through the holes until it rests on the bottom of the pool.
Take a deep breath and blow into the other end of the aquarium tubing. Observe what happens to the submarine when air from your lungs displaces the water in the bottle. Try to make the bottle neutrally buoyant – suspended below the surface of the water but above the bottom of the pool.
Don’t Keel Over
What you need:
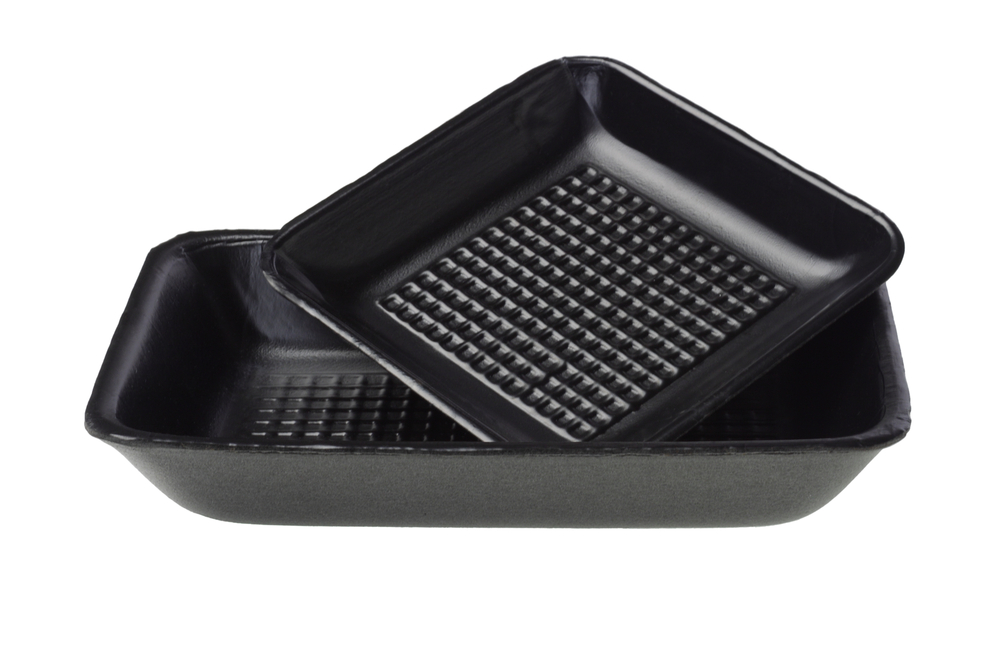
- Small foam tray, commonly used in meat packaging at many grocery stores
- 2 wood blocks – one about the same length as your tray, and one slightly shorter
- Small weights – such as coins, fishing weights or small pebbles
- Large tub or pool of water
- Two long heavy rubber bands
What to do:
Float your foam tray in your pool of water. Then place weights along one side of your foam raft. Observe the number of weights your raft can support on one edge before capsizing.
Next, use the rubber bands to strap the wood blocks underneath the raft. Place the longer block directly down the center of the raft and the shorter block centered under the longer one. Float the raft and repeat the experiment of adding weights to one side. Experiment with placing the wooden keel in different positions beneath the raft. Can you think of other ways to stabilize the raft?
Related:
Sign up for the Live Science daily newsletter now
Get the world’s most fascinating discoveries delivered straight to your inbox.


