Middle School Science Fair Projects
Congratulations! You have been assigned a science fair project!
Some of you may not think that’s so great. So why should you be congratulated when the whole idea of doing an entire science project on your own is so scary? Well, for one thing, you get to make all the decisions about your project for yourself.
For some of you this may be the first time your teachers have allowed you to decide for yourself what it is that you want to study. So again, congratulations! If you are up for the challenge of making all the decisions yourself, and are ready to do it all yourself, please see our related article on choosing a science fair project and jump right in. For those wanting ideas for some specific projects, read on!
The following two projects allow you to test the properties of soil. They would be appropriate for a general science class, a biology class or an environmental science class.
Project No. 1: How does the pH of the soil affect the type of plants that grow in a certain area?
Different kinds of plants thrive in different types of soil. In your background research, find out which types of plants prefer slightly alkaline or acidic soils. Discuss how soil pH can be adjusted in a home garden to grow the crops you choose. Make a hypothesis about the pH of the soil based on the type of plants observed at each collection site.
Gathering a sample collection
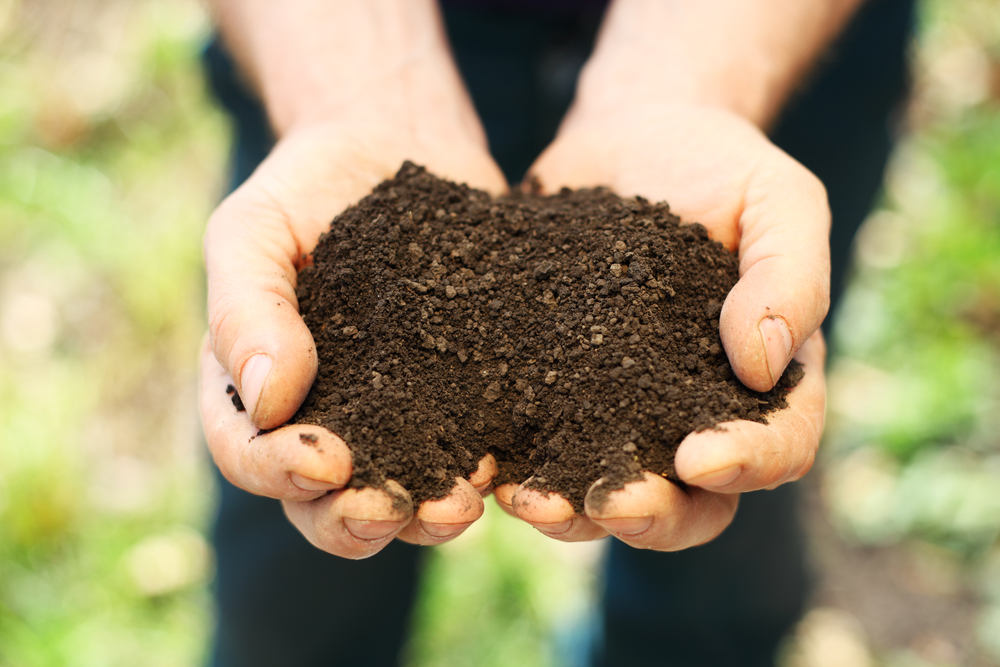
Dig a small hole about 6 inches deep then use a separate, clean trowel or large spoon to remove a handful of soil (about 200 grams or 7 ounces) from around the sides of the test hole. Your tools should be clean stainless steel or Teflon-coated because any rust or soil left on the tool will contaminate your sample. Thoroughly clean and dry your tools before collecting a new sample.
Place each soil sample in a plastic bag. Label the bag with the collection location and any observations about the types of plants present in that location.
Some locations to try: a vegetable garden, a grass lawn, an area where pine trees are growing well, a creek or river bank, a field growing commercial crops such as wheat, soybeans or corn.
Always be sure you have permission from the land owner to dig a sample hole and fill in the hole after you have removed the soil needed for your test.
Preparing the samples
Soil samples should be completely dry before testing. Open the bags and leave them in a sunny location until they are dry.
Samples may also be dried in an oven. Spread a soil sample on a Teflon cookie sheet and place in a 350-degree oven for 15 minutes. Make sure the cookie sheet is cleaned and dried for each new sample.
Performing the test
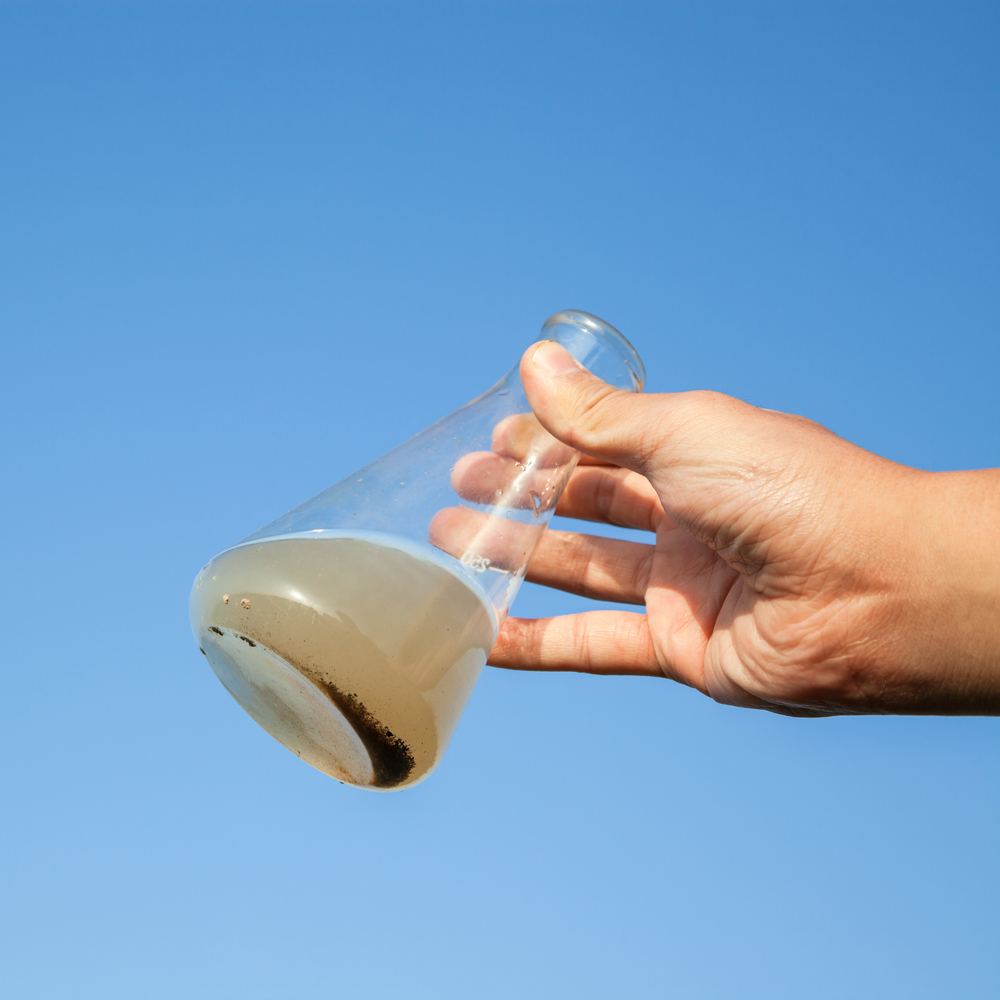
There are several ways that you can test the pH of your soil samples:
1. Buy a soil testing kit from a home and garden center. Carefully follow all of the manufacturer’s directions. This is the most accurate test.
2. Use vinegar and baking soda. To do this test you will need:
- six to nine tablespoons of each soil sample
- a clean quart jar with a lid
- several gallons of distilled water
- a gallon bottle of white vinegar
- a box of baking soda
Test the first sample for acidity by placing 2 to 3 tablespoons of soil in the quart jar. Add 3 tablespoons of baking soda and 1 cup of distilled water. Put the lid on the jar and shake well. If the mixture fizzes, the soil is highly acidic. Carefully clean and dry the jar and measuring spoons.
To test the soil for alkalinity, put the same amount of soil into the jar and add 1 cup of white vinegar. Cap the jar and shake it well. If the mixture reacts with the vinegar by fizzing, the soil is highly alkaline. This test is the least accurate as it will only show results if the soil is very acidic or alkaline.
3. Use a cabbage juice indicator. Prepare your indicator solution by chopping a red cabbage into very fine pieces. Use about five cabbage leaves per three cups of distilled water. Boil the chopped cabbage in the water for ten minutes. (You might want to do this outside as the boiled cabbage smell is quite strong!)
Strain out the cabbage and you should be left with a bright purple liquid that you can use as a pH indicator. Place 3 tablespoons of each soil sample in a separate clear glass container. Pour 100 milliliters (mL) of hot cabbage juice indicator over each sample and let them sit undisturbed for 30 minutes. Compare the color of the cabbage juice indicator in each container. Soils with a nearly neutral pH will have little color change. If the solution is light blue, the soil is slightly alkaline, darker blues shading to green represent higher pH values. If the solution is a light pink the soil is slightly acidic, darker pink colors indicate lower pH values.
Remember the pH scale is based on a value of 7 representing neutral — that means neither acidic nor basic. Increasing values from 7.1 to 14 mean increasingly stronger bases. Decreasing values from 6.9 down to 0 mean increasingly stronger acids. Strong acids or bases are caustic, which means they will cause chemical burns! You are unlikely to find very strong acid or base values in soil — the plants would die.
Representing your information
Prepare a chart as follows:
Project No. 2: Which type of soil has the highest electrical conductivity?
Plants need more than water for their growth. They need minerals and salts from the soil. Quality soils contain materials that dissolve in water easily so the plants can take them in through their roots. One way to judge whether these materials are easily available for use by the plants is to measure the electrical conductivity of the soil.
Materials needed:
- 200 g of sand
- 200 g of clay
- 400 g of potting soil
- 50 mL of liquid fertilizer
- Distilled water
- 1 DC 12-volt battery
- 3 plastic insulated jumper wires equipped with alligator clips on each end
- 2 copper electrodes
- 1 milliammeter with red and black connection wires equipped with alligator clips (ask to borrow one from your school’s science department)
- Beakers
Hypothesis: Based on what you know about soil hypothesize about which type of soil will have the highest electrical conductivity. In this experiment the independent variable is the type of soil; sand, clay, garden soil and garden soil mixed with liquid fertilizer. The dependent variable will be the ability of each soil to conduct electricity.
Procedure:
1. Dry each soil sample in the sun or in an oven
2. Label four beakers as follows: Sand, Clay, Potting soil, Potting Soil and Fertilizer
3. Measure out 200 grams of the appropriate soil into each labeled beaker. Add 50 mL of liquid fertilizer to the beaker labeled “Soil and Fertilizer.” Add 200 mL of distilled water to each beaker and stir gently. Set the beakers aside for at least 30 minutes.
4. Clip one end of the first jumper wire to one of the copper electrodes and connect the other end to the negative terminal on the battery.
5. Clip one end of the second jumper wire to the red (+) ammeter wire. Leave the opposite end free until you are ready to connect it to the battery.
6. Clip one end of the third jumper wire to the black (-) ammeter wire and the opposite end to the second copper electrode.
7. Insert the electrodes about 5 cm apart in your first test beaker and connect the second jumper wire to the positive terminal of the battery.
8. Read the milliamp gauge on the ammeter and record the information in a data table. Disconnect the circuit, clean and dry the electrodes, and repeat for your other test beakers.
Going further
- Place your test soils in clay pots and plant fast-growing seeds (such as radish seeds) in each pot. Observe the time it takes for the seeds to germinate and the health of the plants.
- Increasing the minerals in soil can increase soil health up to a point. Research places that have a high salt content to the soil and find out what kinds of plants can tolerate high saline concentrations. Research what happens when fertilizer runs off of crop lands and gets into water systems.
- Fertilizers sold in garden supply stores commonly have a series of three numbers printed on the container, find out what these numbers signify and include this information in your research paper.
- Use only potting soil and change your independent variable. Try adding hot and cold water, or different brands of fertilizer.
Sign up for the Live Science daily newsletter now
Get the world’s most fascinating discoveries delivered straight to your inbox.
