How to photograph the northern lights
The aurora borealis is on the bucket list of photographers across the globe, but to get quality images of the northern lights there are some key tips and gear choices to take note of.
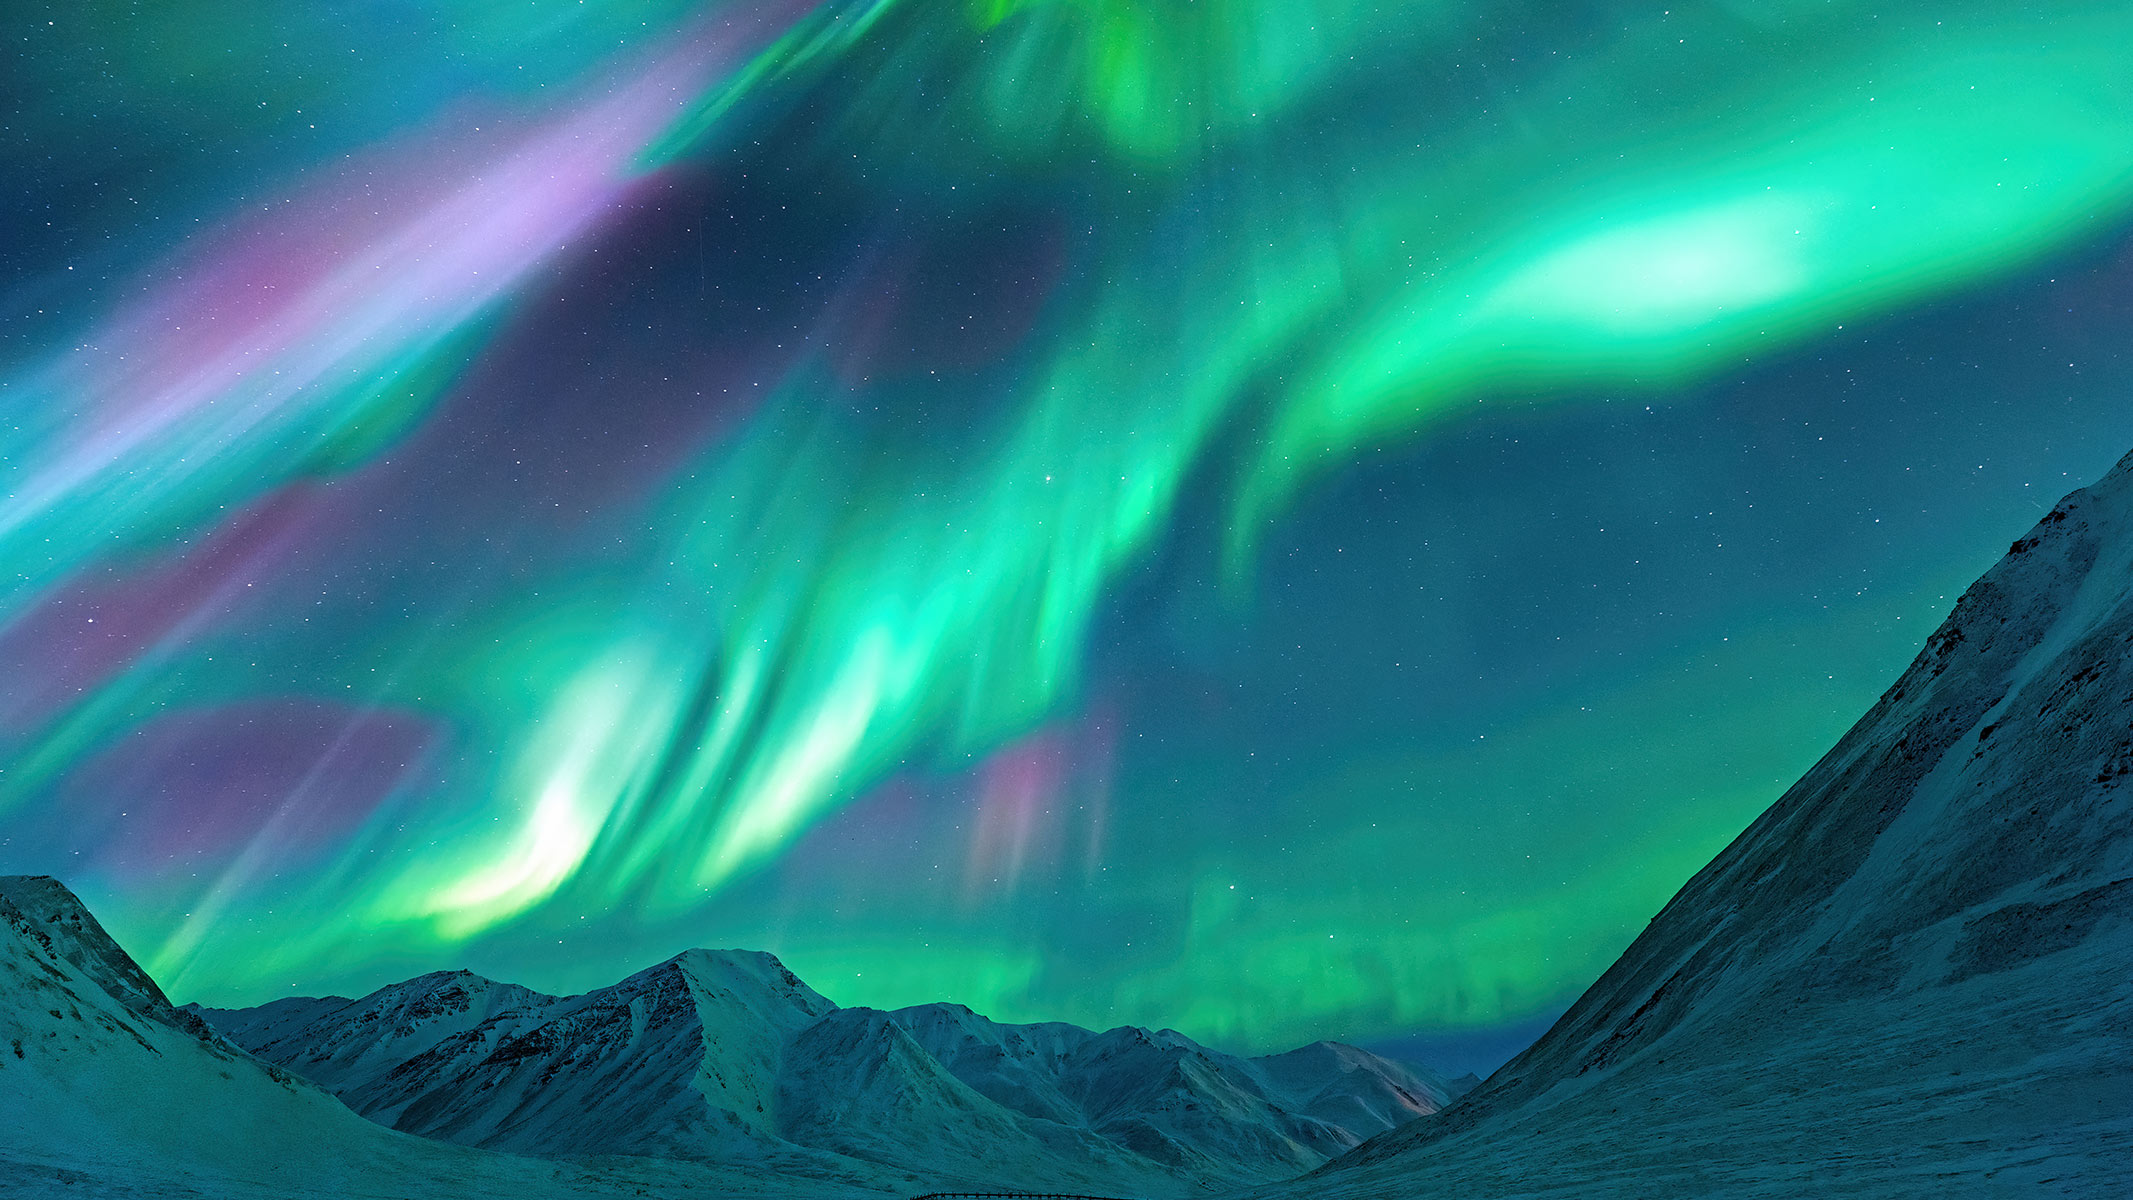
The northern lights, also called the aurora borealis, are some of the most breathtaking natural displays in the world. As charged particles from the sun shower down on Earth's atmosphere, the gases are excited and glow green, red, pink and sometimes blue.
As lucky aurorae observers know, snapping a great shot of the lights is extremely difficult to do well. Smartphones can aid us in spotting dimmer displays and are fun for sharing with friends and family on social media, but creating a picture you could hang on your wall? That's where some tips, techniques and key bits of camera gear come in.
Last year, the northern lights appeared further south than expected, with aurora shows even seen in Cuba and Hawaii. This was a rare occurrence due to a powerful geomagnetic storm the likes of which Earth hasn't experienced for more than two decades.
That, currently combined with a giant Earth-facing coronal hole means astrophotographers and stargazers have the perfect opportunity to capture the magic of the aurora borealis.
Recommended camera gear
- You'll need: A mirrorless or DSLR camera capable of long exposures
- A wide-angle, fast lens, preferably a wide-zoom between 12-24mm focal length and as wide as f/2.8 or greater
- A tripod capable of supporting the payload of camera and lens
Mirrorless / DSLR cameras
- Full-frame cameras are the best for astrophotography
- Noise-handling is important in a camera
- Check its ISO sensitivity range before buying
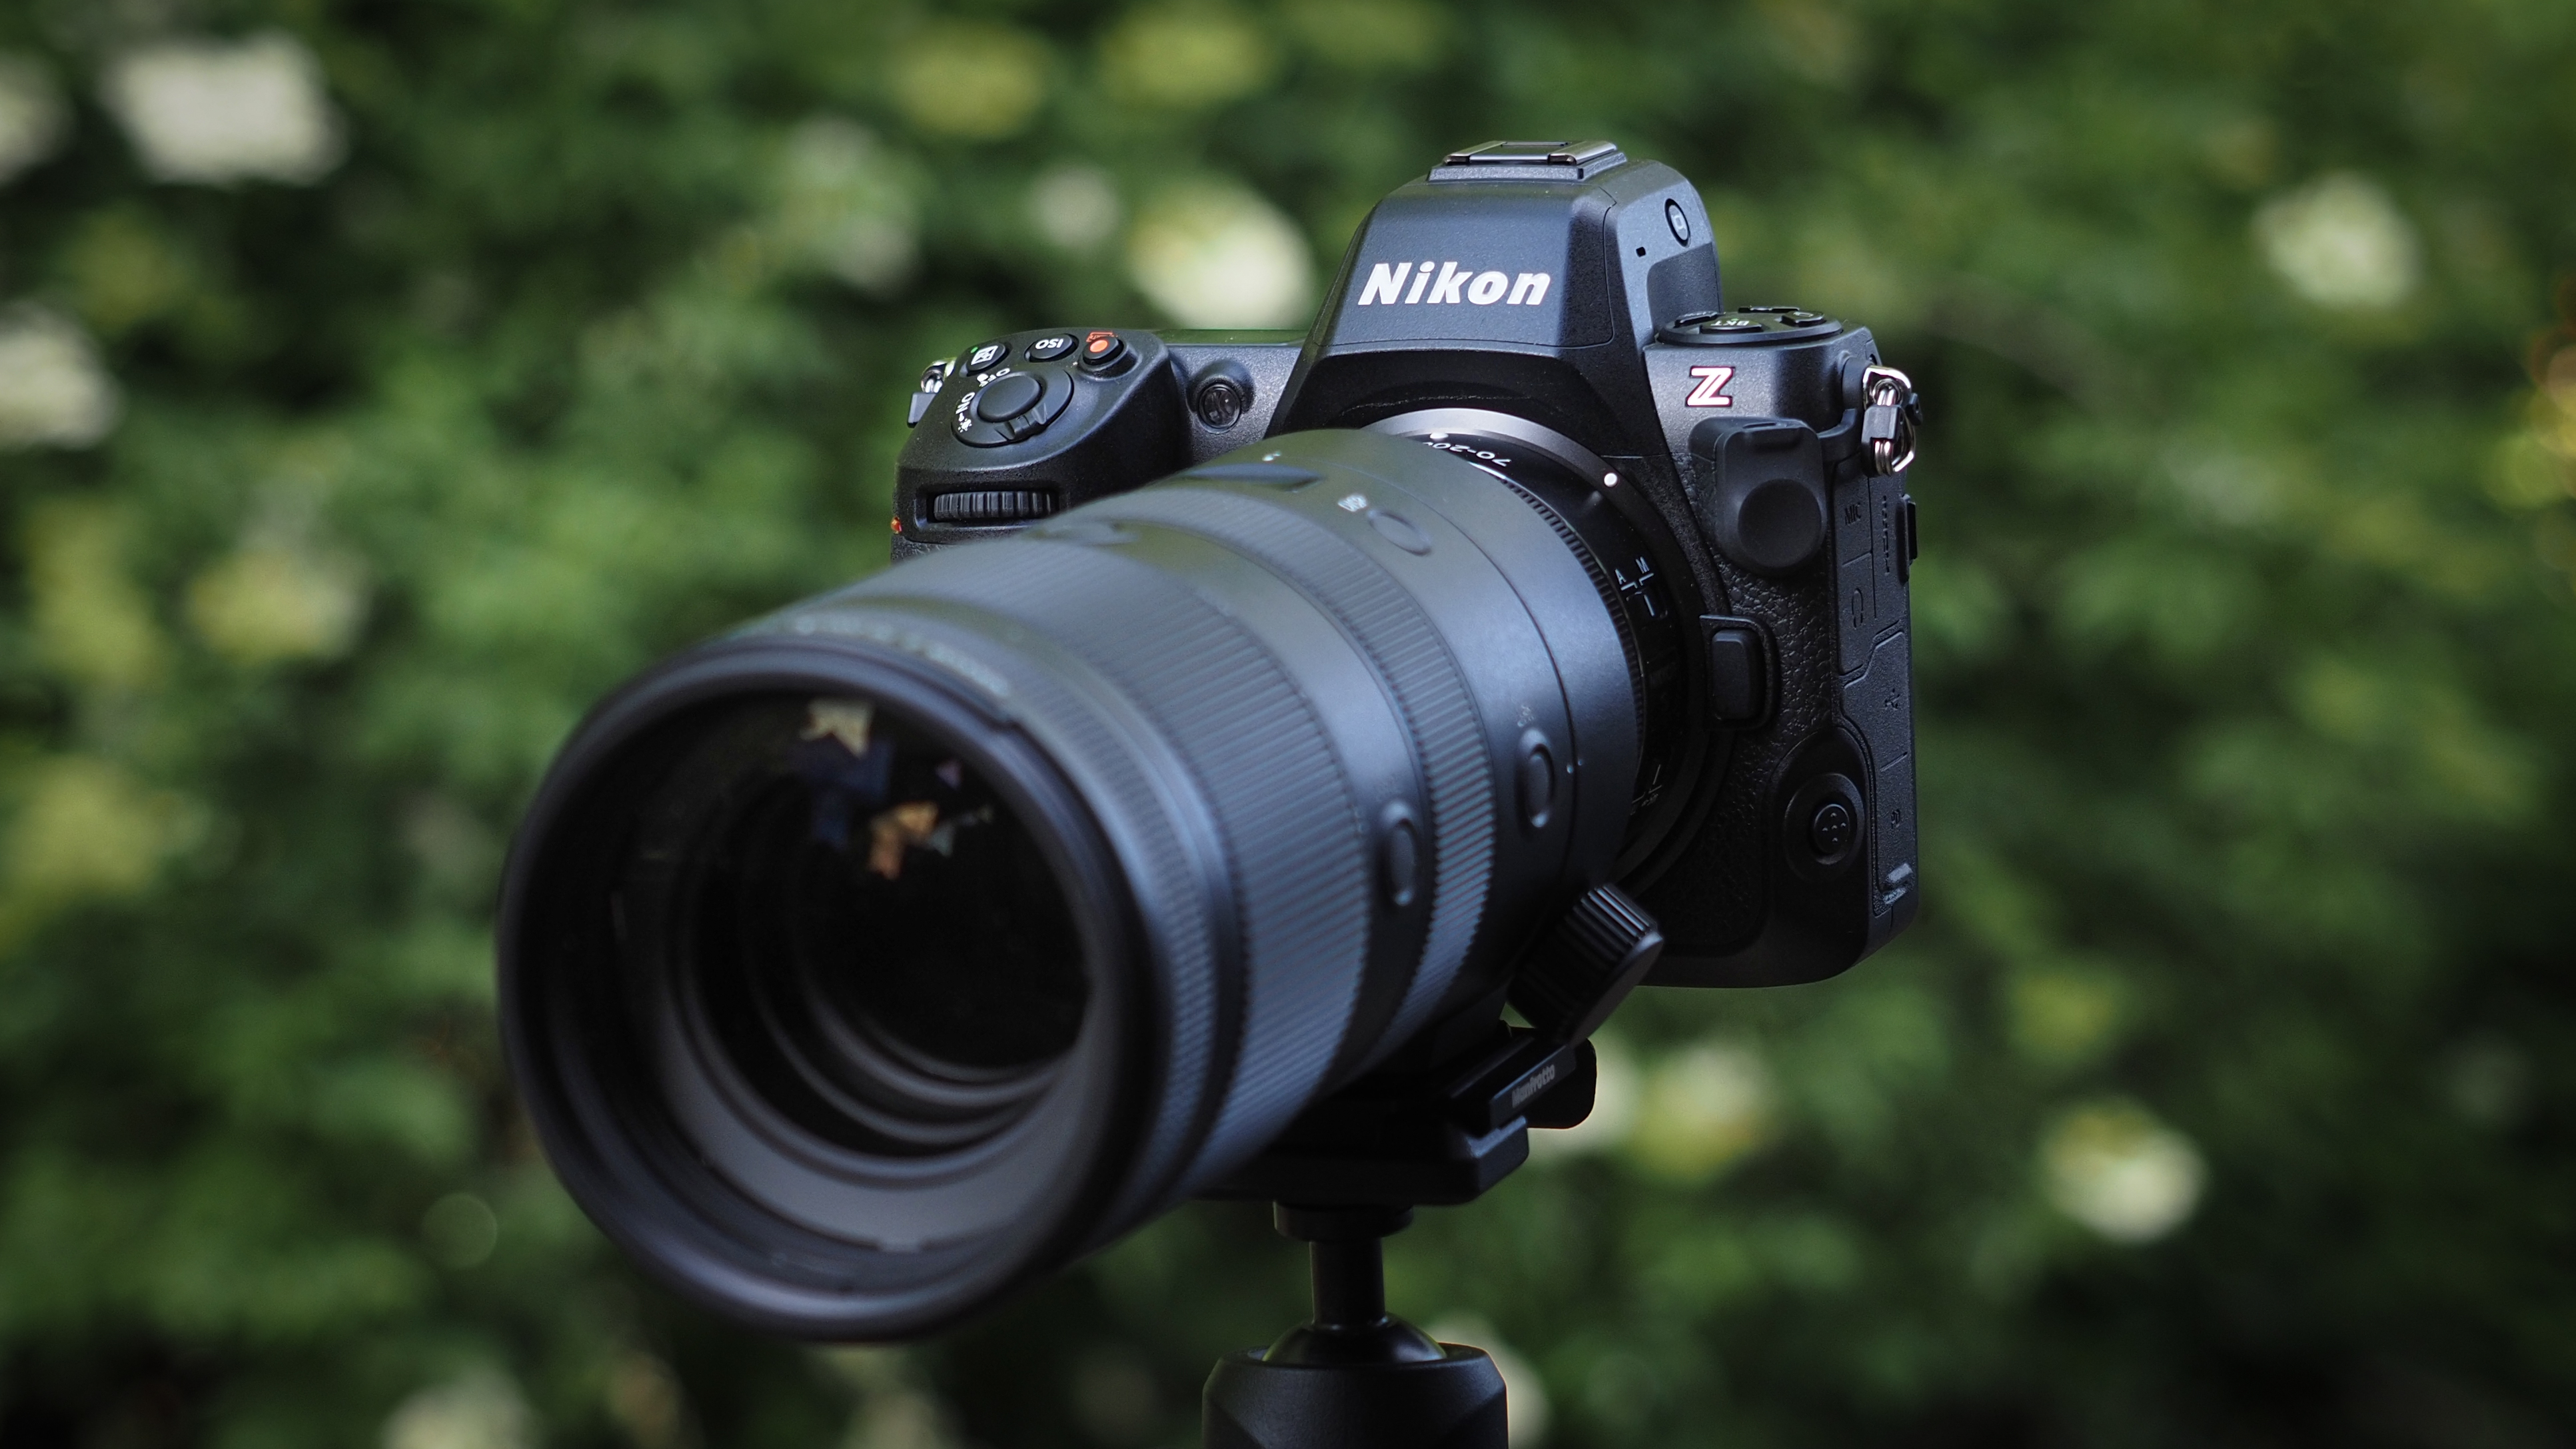
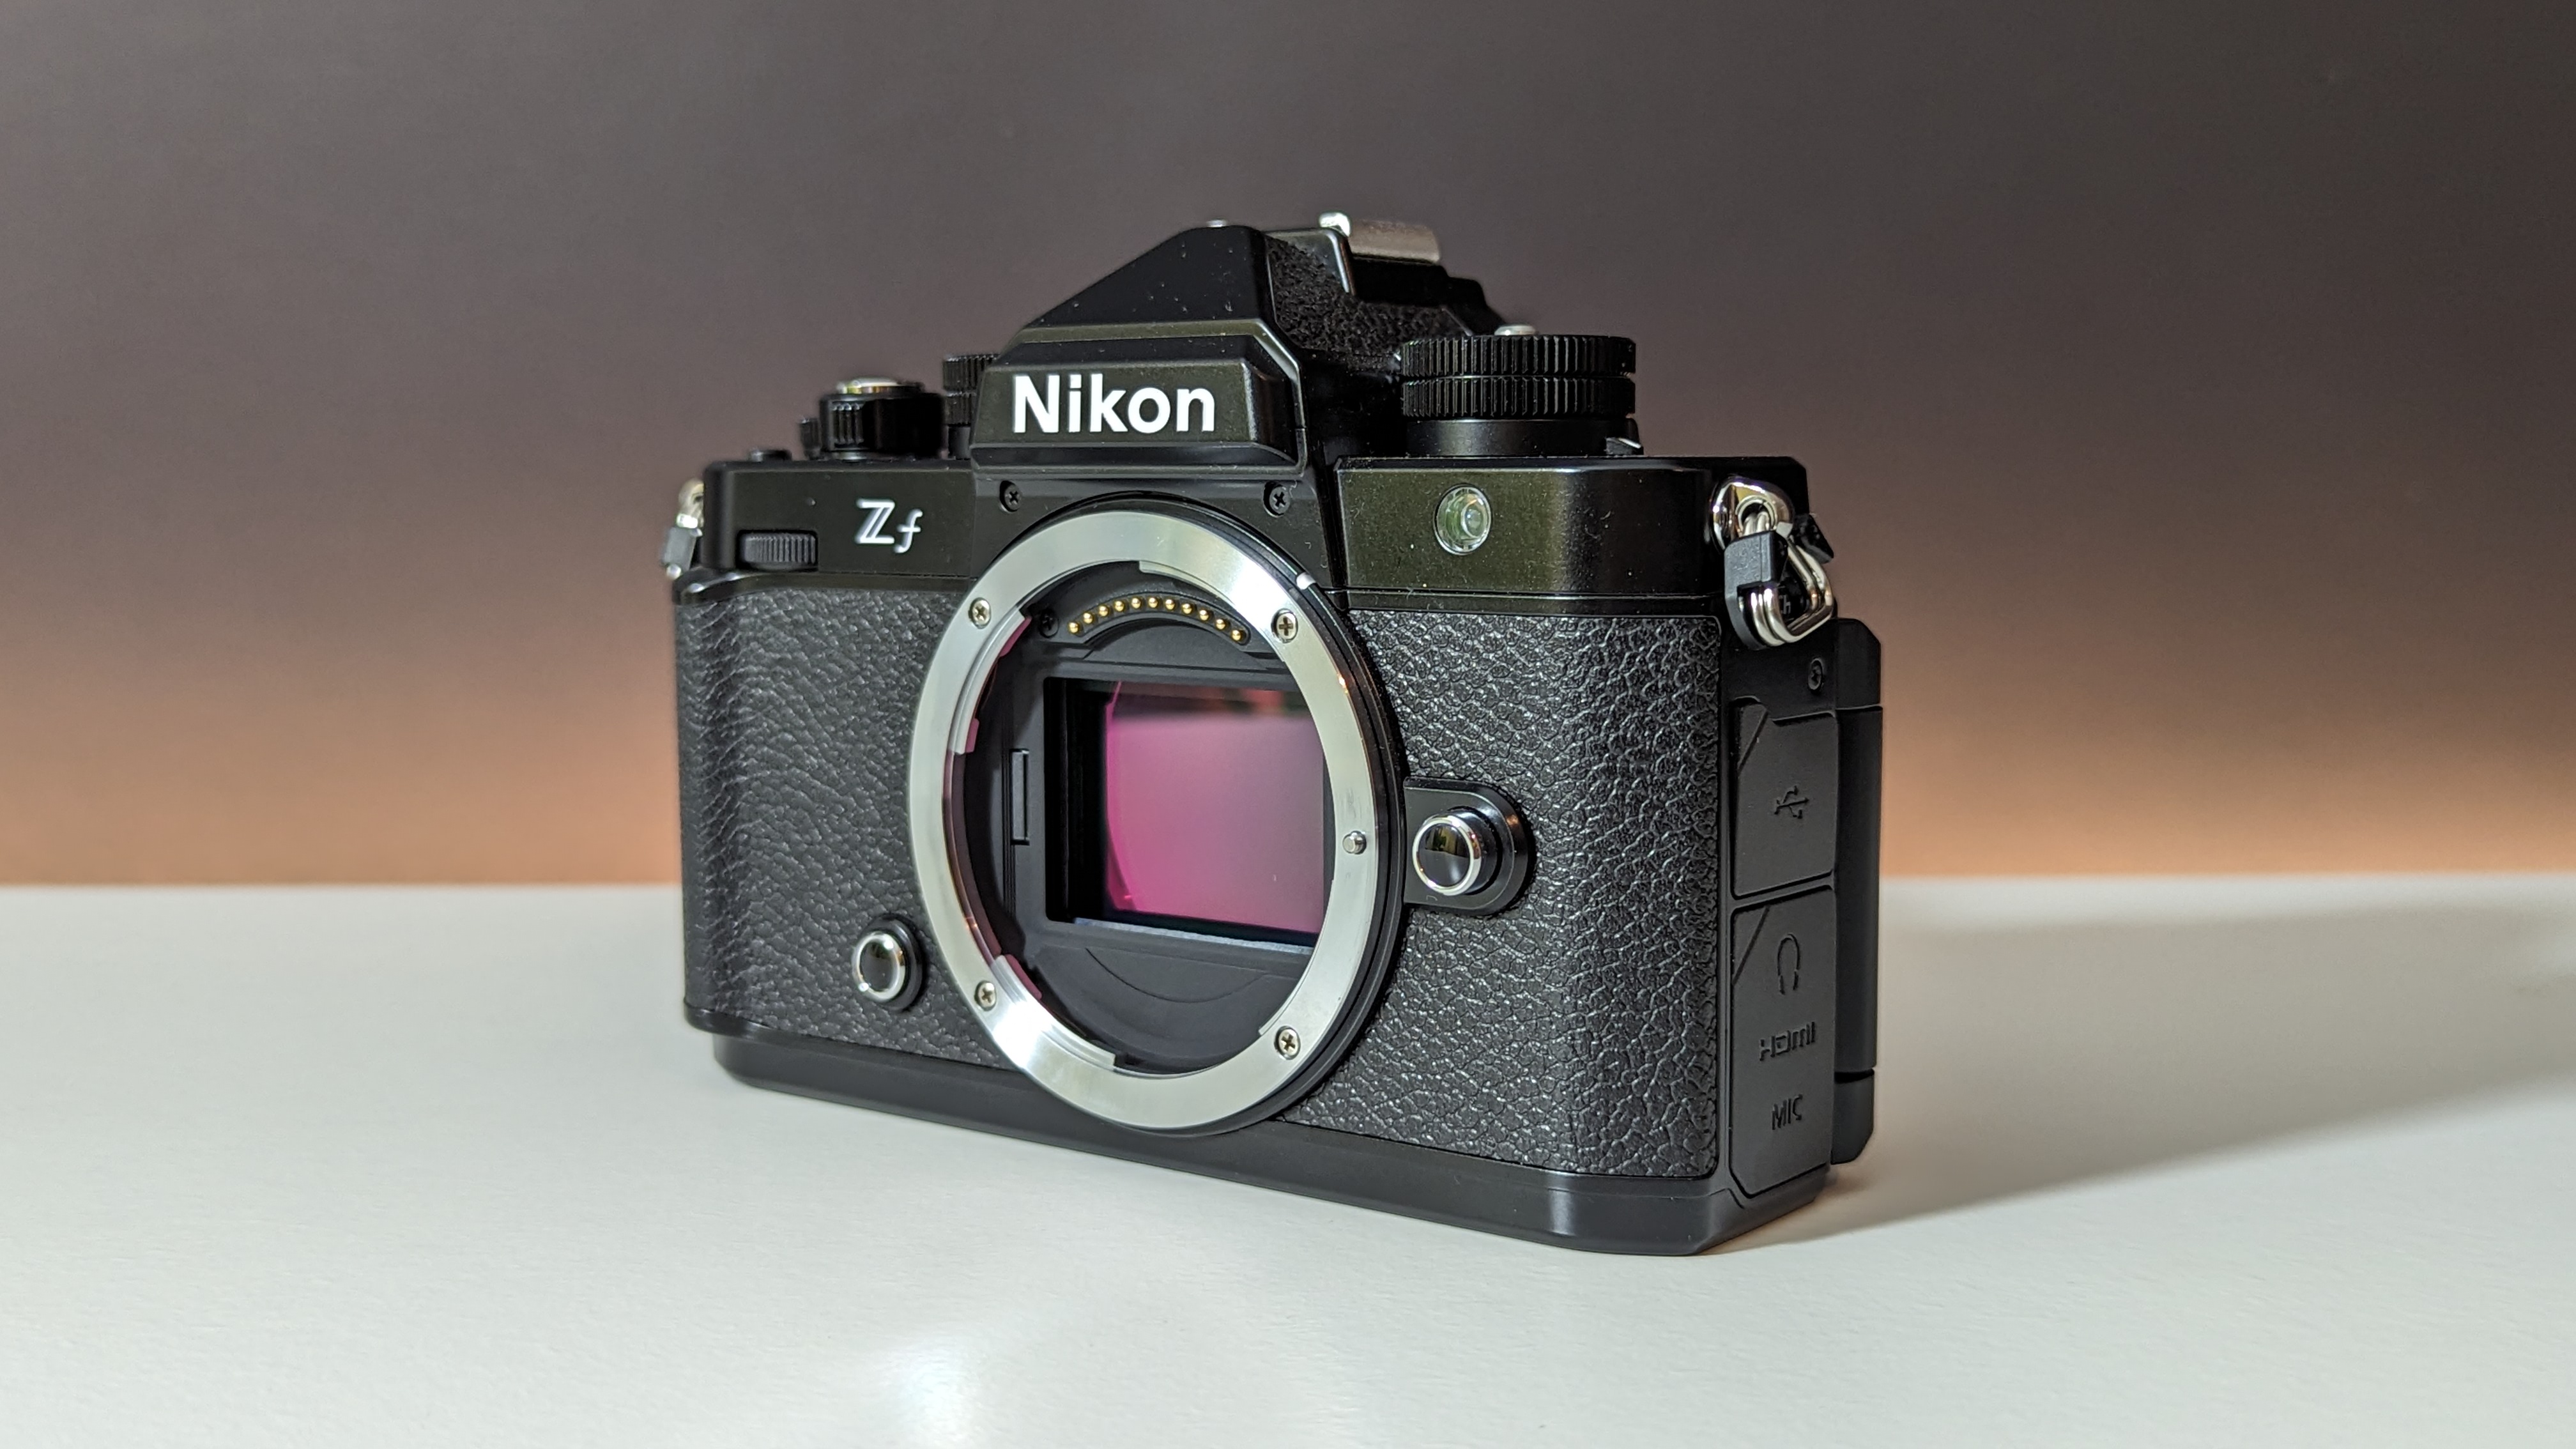
We have reviewed many of the best cameras for astrophotography and think the Nikon Z8 is the best camera for capturing the night sky. This mirrorless camera suits those who are advanced or professional photographers, offering high resolution and manual controls. However, beginners may be better off using the easier-to-navigate and cheaper Nikon Zf.
It's crucial to have a camera that you can operate in manual mode, that way you have control over all three parts of the exposure triangle: Aperture, shutter speed and ISO sensitivity. Ultimately, the bigger the image sensor, the more light can be collected (which is important when you're photographing the dim night sky). Cameras with very high megapixel counts (50MP +) may introduce more image noise compared with similarly-sized sensors with fewer megapixels, due to the increased interference on the chip.
The Nikon Z8 is our top pick for astrophotography (we gave it 4.5/5 stars) because it offers a detailed 45.7 megapixel resolution, is compatible with a range of high-quality Nikon Z-mount lenses and even has a night vision mode for astrophotography.
However, beginners might want to take a look at the Nikon Zf, Canon EOS R8 or the OM System OM-1 Mark II which we've each named as fantastic for astrophotography after our full reviews but are a little more budget-friendly.
Sign up for the Live Science daily newsletter now
Get the world’s most fascinating discoveries delivered straight to your inbox.
The common thread with all the cameras we highlight above are that they have fully manual modes to control the exposure triangle, (ideal for adjusting exposure lengths to capture the northern lights dancing through the sky), and are top-notch at handling high ISO noise (meaning clearer, nicer-looking nighttime photos).
Camera lenses
- Check your camera lens mount first for compatibility
- Aim for wide-angle zoom (a focal length between 12-24mm, or wider)
- Get a fast lens (apertures of f/2.8 or wider, budget dependent)
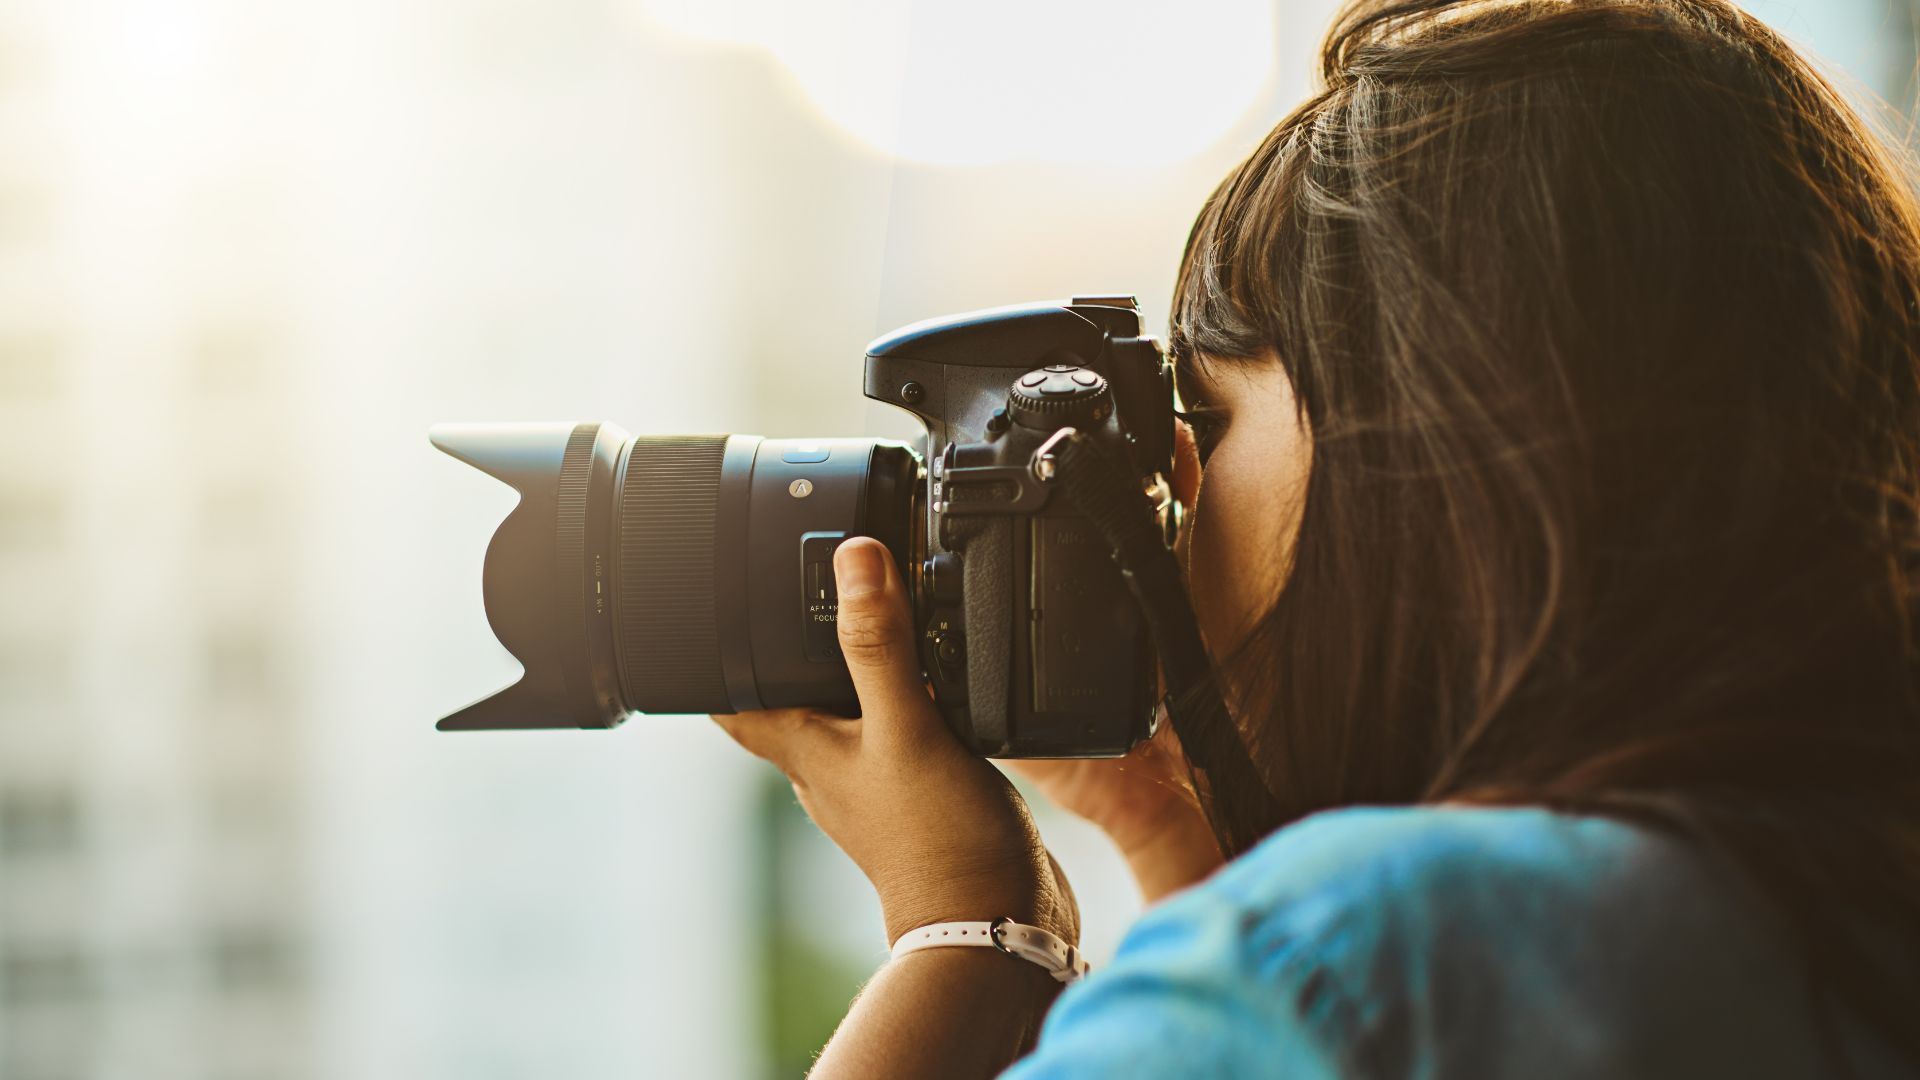
Alongside a quality camera, we'd recommend a wide-angle lens. There are three particular features to look for in a lens: The mount type, focal length and maximum aperture rating.
You'll need to find a lens with the mount type appropriate for your camera, for Nikon mirrorless cameras that's the Z-mount system, for Canon it's an RF mount and for Sony it might be the E-mount. Check this first in your manual or online before purchasing.
When shooting the northern lights, they have a habit of spreading all over the sky (if you're lucky) and therefore require a wide field of view to capture. This means you should have a focal length of between 12-24mm if you're hoping to capture the lights and foreground in your photo. You can go wider, but be aware that as you approach 10mm and 8mm lenses tend to distort straight lines into curvy lines so you may need an image editing software to remove this later, if undesired.
A fast lens is one that has a wide aperture (the opening in the glass, created by the metal blades separating inside the lens). An aperture of f/2.8 or wider (f/1.8, f/1.4 etc) is ideal as it allows maximum light input to the image sensor. Be aware that wide apertures of f/2.8 and wider will cause some noticeable diffraction of the light and therefore can create a soft-looking image.
Tripods
- Ensure the payload of the tripod is sufficient for your camera gear
- Carbon fiber is more expensive but usually a better option
- Check size is okay for you when fully collapsed
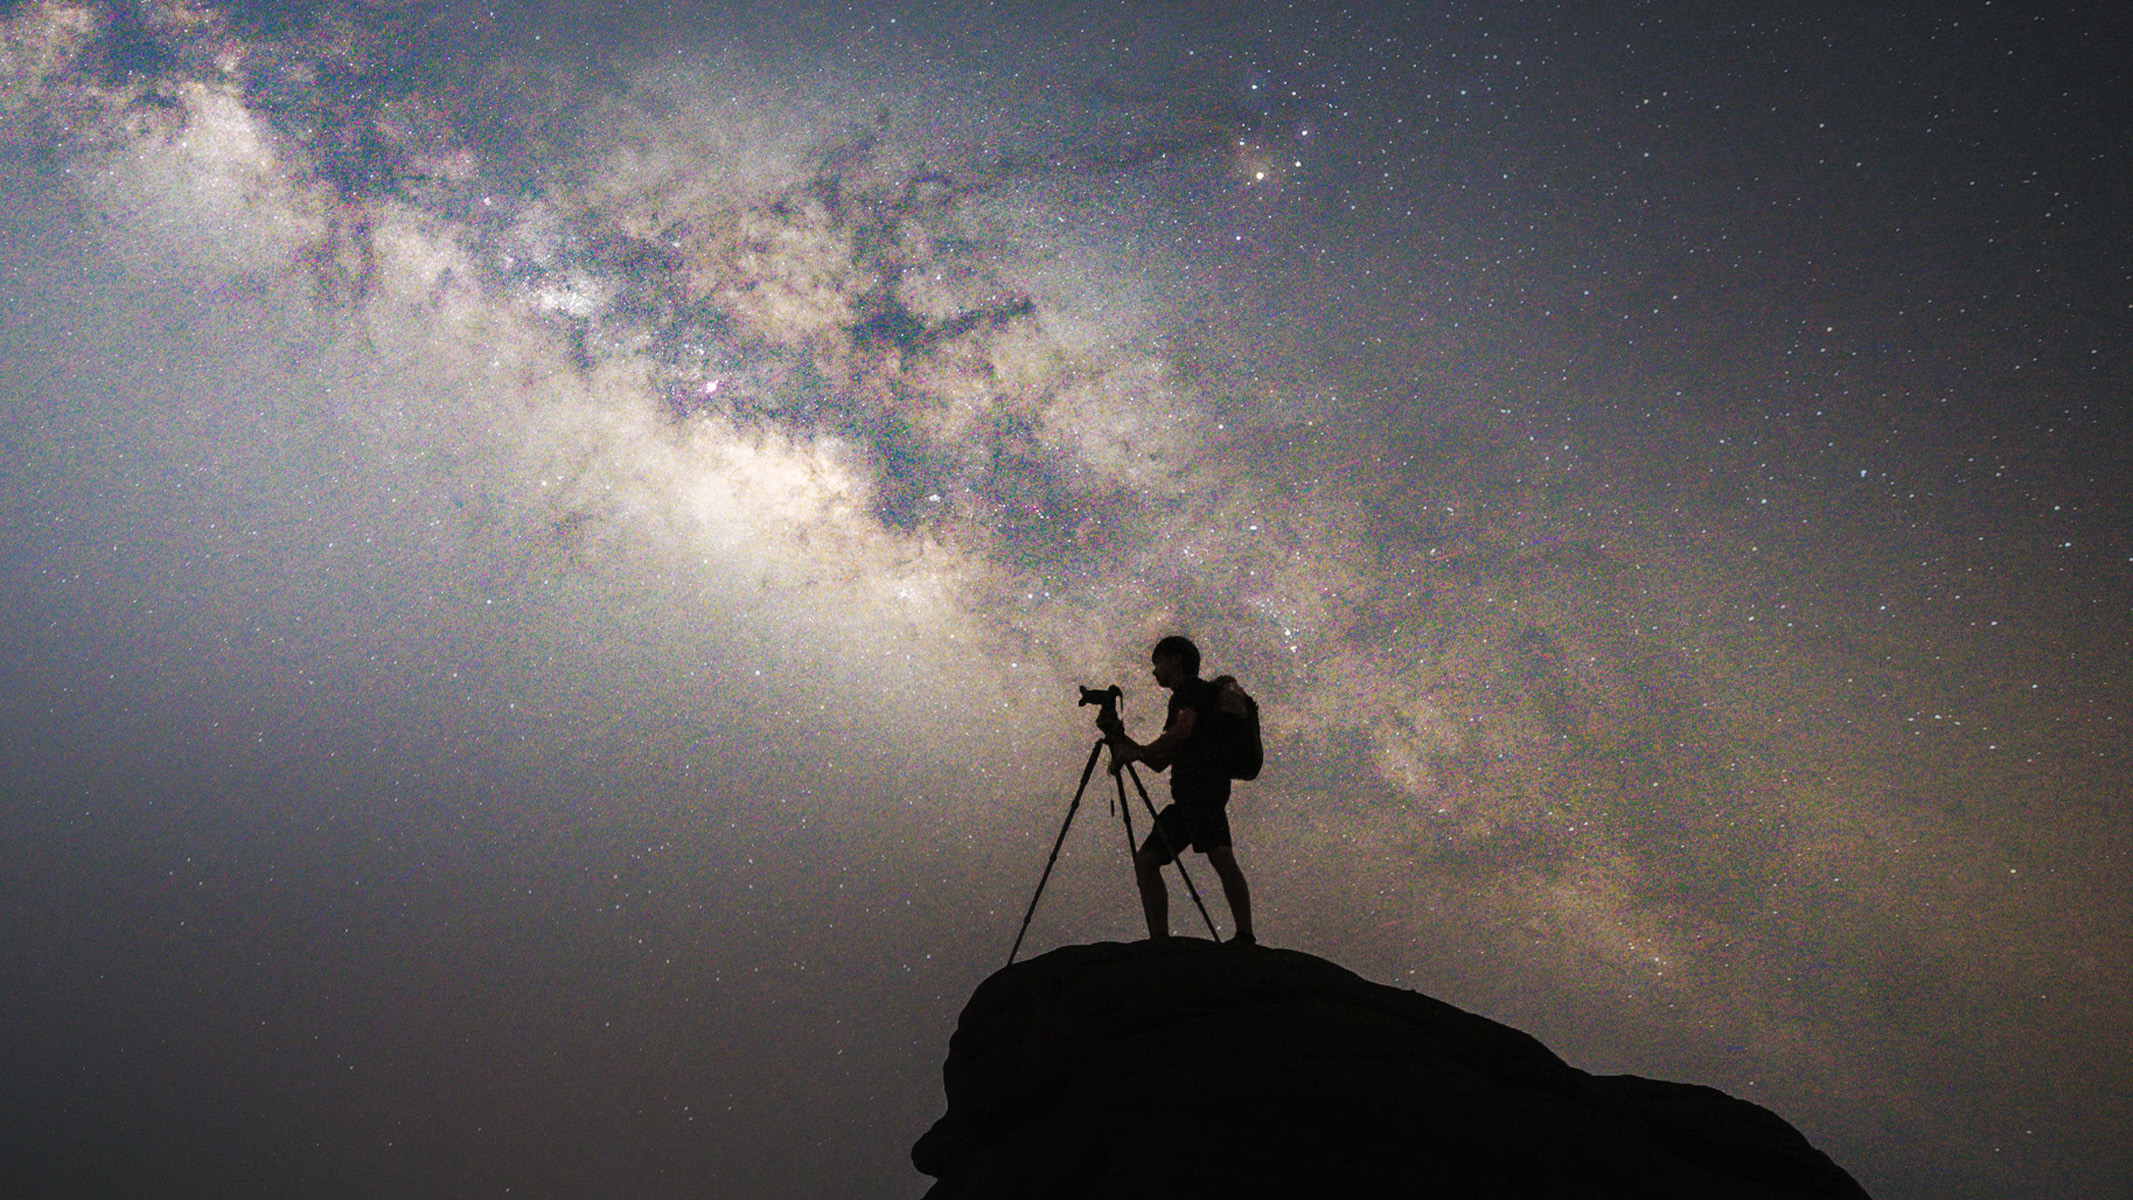
Due to the dimness of the aurora borealis we need to take long exposures of several seconds, as previously mentioned. The camera must remain completely stationary during this period to ensure sharp images of any foreground you're including, plus to reduce risk of camera movement blur. The best way to do this is with a tripod.
The style and size of the right tripod for you will depend on your preferences. However, you must check the tripod's (and tripod head's) maximum payload. This is the weight of the camera and lens, combined (plus any additional accessories attached to the camera). Make sure your gear is under the weight of the payload for the tripod and tripod head. Tripods usually come with a standard ball-head (tripod head) but you can purchase legs and heads separately so check both if you're doing this.
Smaller, lightweight tripods are likely to have fewer leg sections (two to three), while larger and heavier tripods may have more (up to five). There's no photographic advantage to having fewer or more leg sections so long as the build of the tripod is solid but a tripod with more leg sections might mean it folds up smaller, making it easier to fit in a camera bag.
Tripods are typically made out of two types of material: Aluminum and carbon fiber. Both are lightweight but strong and more expensive tripods usually offer a carbon fiber version because it is lighter than its aluminum counterpart. If the budget stretches, we'd recommend a carbon fiber tripod because it's both lighter and warmer. Warmer because aluminum, or most metals for that matter, thermally conducts better than carbon fiber and therefore will be much colder to the touch. Since the northern lights are generally in the colder regions nearer the pole, this is important if you're not wearing gloves.
Camera settings
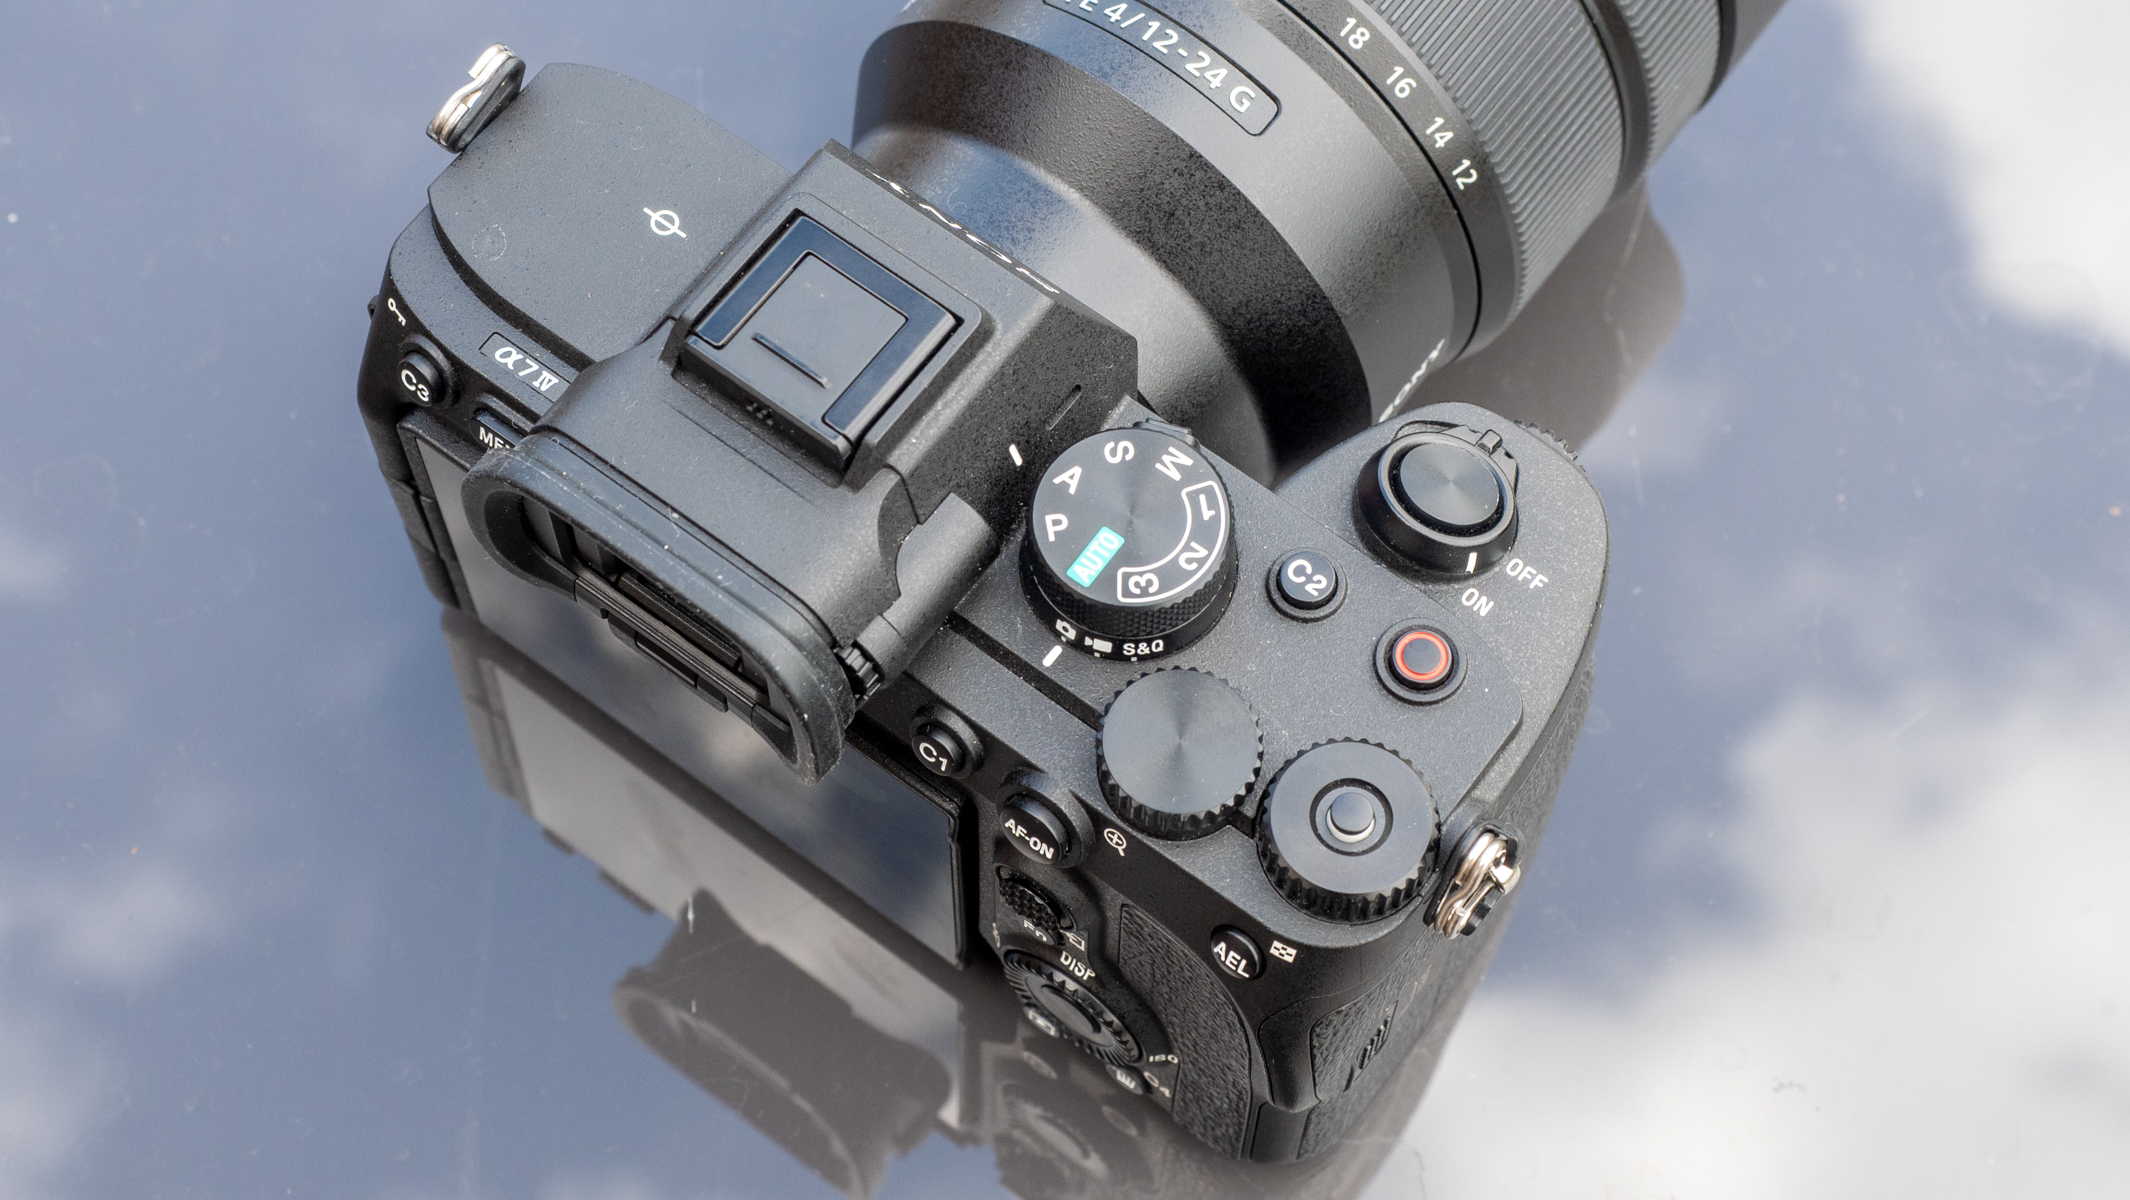
Whatever camera gear you're using we'd recommend following these golden rules:
- Shoot in manual mode
- Set the aperture to the widest available setting (f/2.8 or greater)
- Dial in ISO sensitivity to between 1000-4000 depending on your camera
- Keep shutter speeds between five-20 seconds, maximum
Aperture: f/2.8 or wider
Shutter speed: Between five and 20 seconds
ISO: Between 1000 and 4000
Manual mode allows you to control aperture, shutter speed and ISO sensitivity independently of one another. This is important when shooting the night sky because we want to have full control over exposure length, as we'll discuss in a moment.
The lens' aperture should be set to as wide as possible (e.g. f/2.8) to maximize light making it through to the image sensor in the camera. Go too wide though, (f/1.4 or greater) and the images will become softer and less defined due to diffraction, so it's a fine line to balance between.
ISO sensitivity should be high because the dim star- and aurorae light that does make it through the lens will still be very dim compared to daylight and flash-lit subjects. We want to avoid high ISO image noise as much as possible because it makes photos appear grainy and pushing ISO higher can result in softer images in both shadows and highlights. We'd recommend between ISO 1000-4000 depending on your camera. If you're shooting with the full-frame 35mm Nikon Z8 you could opt for ISO 4000 or even higher and still retain great detail. Capturing with the Micro Four-Thirds OM System OM-1 Mark II? You might want to stick to nearer 1000.
Shutter speed should rest between five and 20 seconds when shooting the northern lights. Any shorter and you risk underexposing the image because the night sky (and the lights) are too dim. Any longer and there may be a loss in definition in the northern lights, especially fast-moving displays that wash and dance around the sky.
Northern lights colors and white balance

We've already given a full explanation of why the northern lights are different colors, detailing which gases the sun's charged particles excite in Earth's atmosphere. But the three commonest colors are: Green, pink and blue. There are a variety of shades and tones that burst into life depending on the intensity of the charged particles at any given time.
We would recommend shooting stills photographs in RAW file format. This is an unprocessed, lossless image file format that allows white balance (and a variety of other camera settings) to be changed more easily after the fact.
File formats like JPEG are processed, lossy image files that bake in the camera settings at the point of creation and are much harder to process in image editing software. Generally, we would recommend against shooting in JPEG wherever possible.
When shooting in RAW, choosing the right white balance is less of an issue but for pleasing viewing on the back of the camera screen, we'd suggest a low color balance of between 3000-4000K (Kelvin) depending on your taste. Photography is as much an art as it is a science, after all.
Finding the northern lights
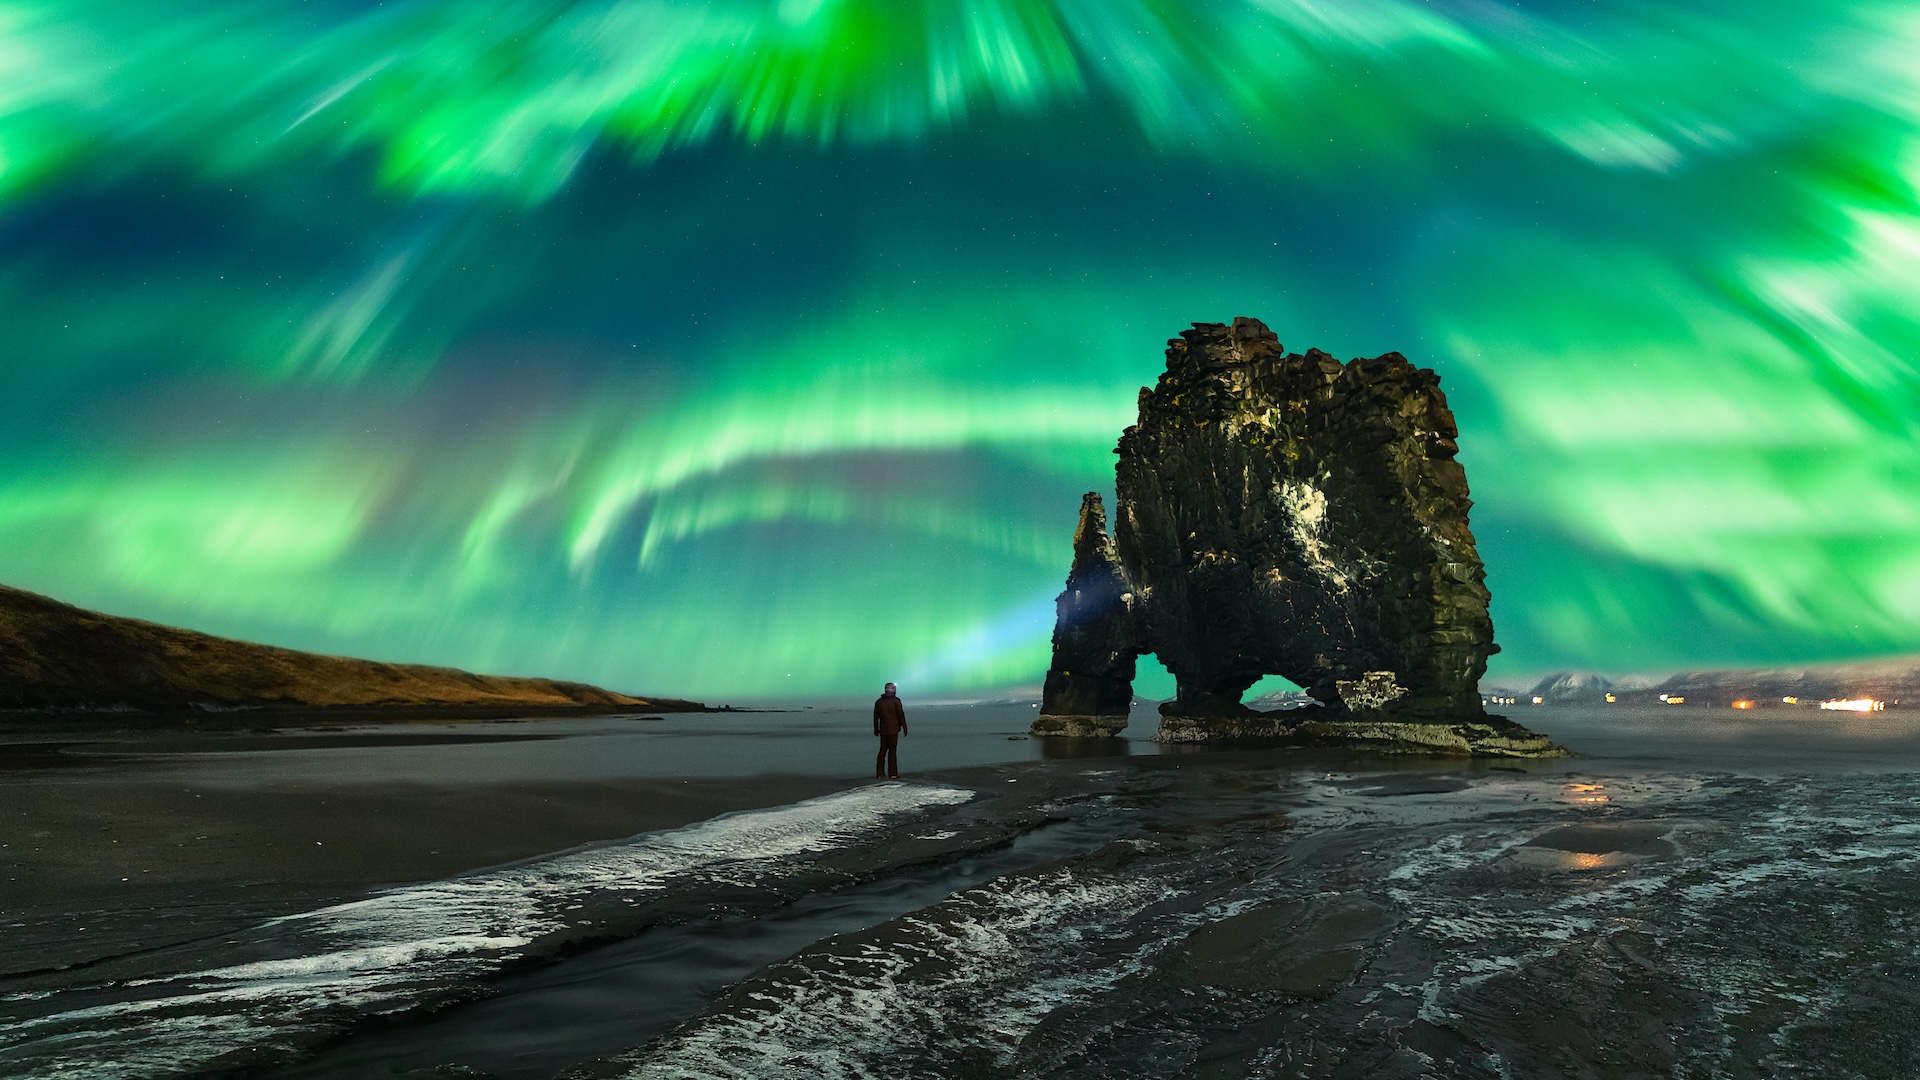
The aurora borealis is elusive for many due to a few reasons. First, the charged particles coming from the solar winds have to be strong enough to disrupt the Earth's magnetic field and make it down into the atmosphere to excite the gas molecules. Next, the weather has to play ball as we need clear, cloudless skies in order to see the northern lights. Then we need to be in the right place at the right time — they don't appear all-over the globe (generally best at latitudes between 10- and 20-degrees) and there's not always land underneath the areas where they are displaying.
Add all that up with the fact we can only see them at night (and there's much less night in the summer due to the northern latitudes and Earth's axial tilt) and we have a needle in a haystack situation.
However, there are some resources that are useful when hunting for the aurora.
- A good aurora-alerting app or repository
- Decent weather reports for your local area
- Solar activity-tracking app or website
There are many resources available and each photographer has their own personal choices when it comes to apps, websites and meteorological reports for hunting the northern lights. However, we'd recommend starting your journey with the My Aurora Forecast Alerts app, the reports from National Weather Service and SpaceWeatherLive.
Additional information
While we've given you the broad sweep of what camera gear to choose and camera settings that are ideal for capturing good aurorae photographs you still may have some unanswered questions.
We have more information on what the northern lights are and where to see them, the geography of the arctic circle and an insight into whether there are aurorae on other planets, (spoiler alert, there are).

- Jase Parnell-BrookesManaging Editor, e-commerce
