Seascape photography guide: How to photograph beaches and coastlines
Capture breathtaking shots of coastlines and seas with our beginner's guide to seascape photography.
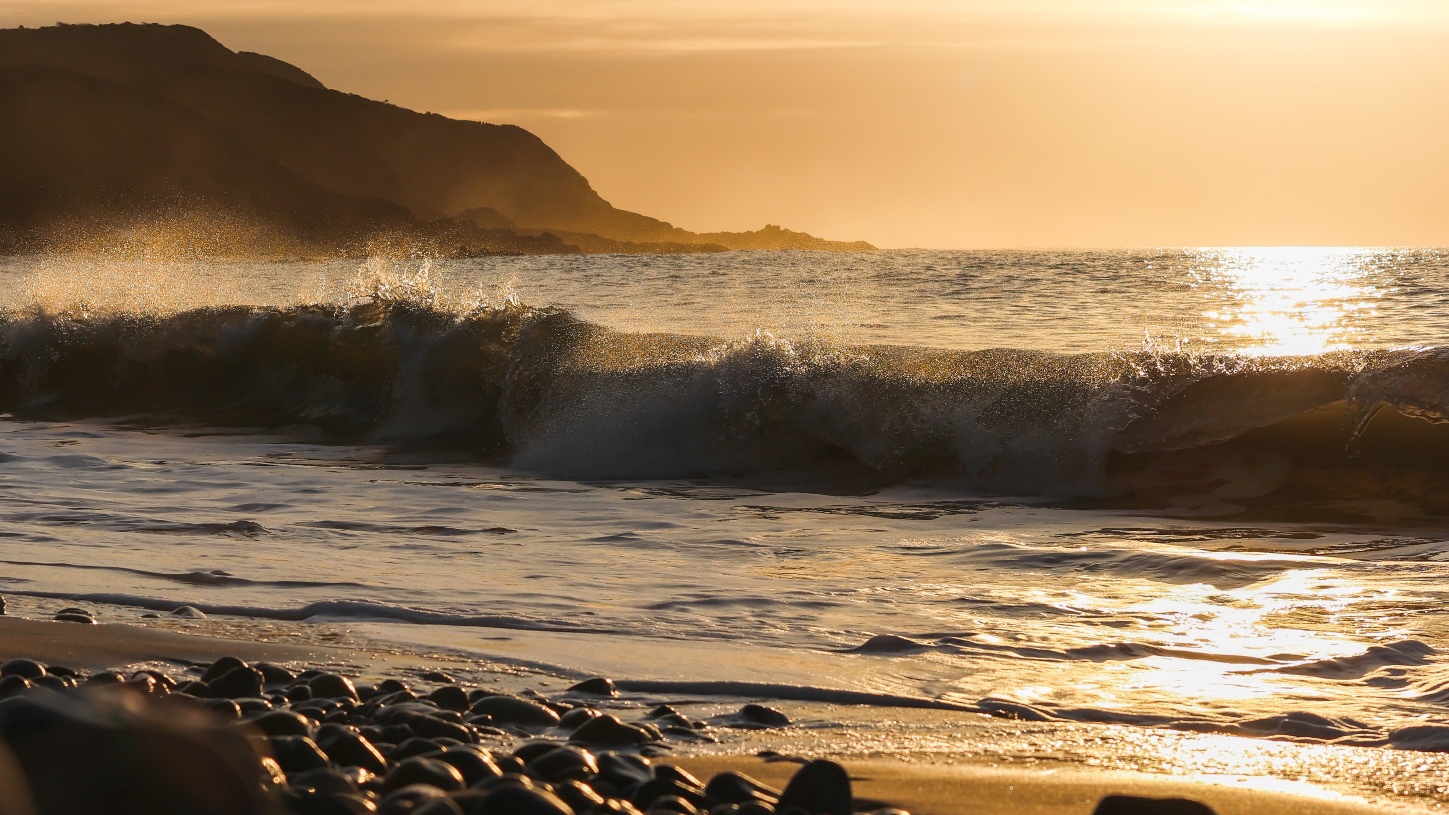
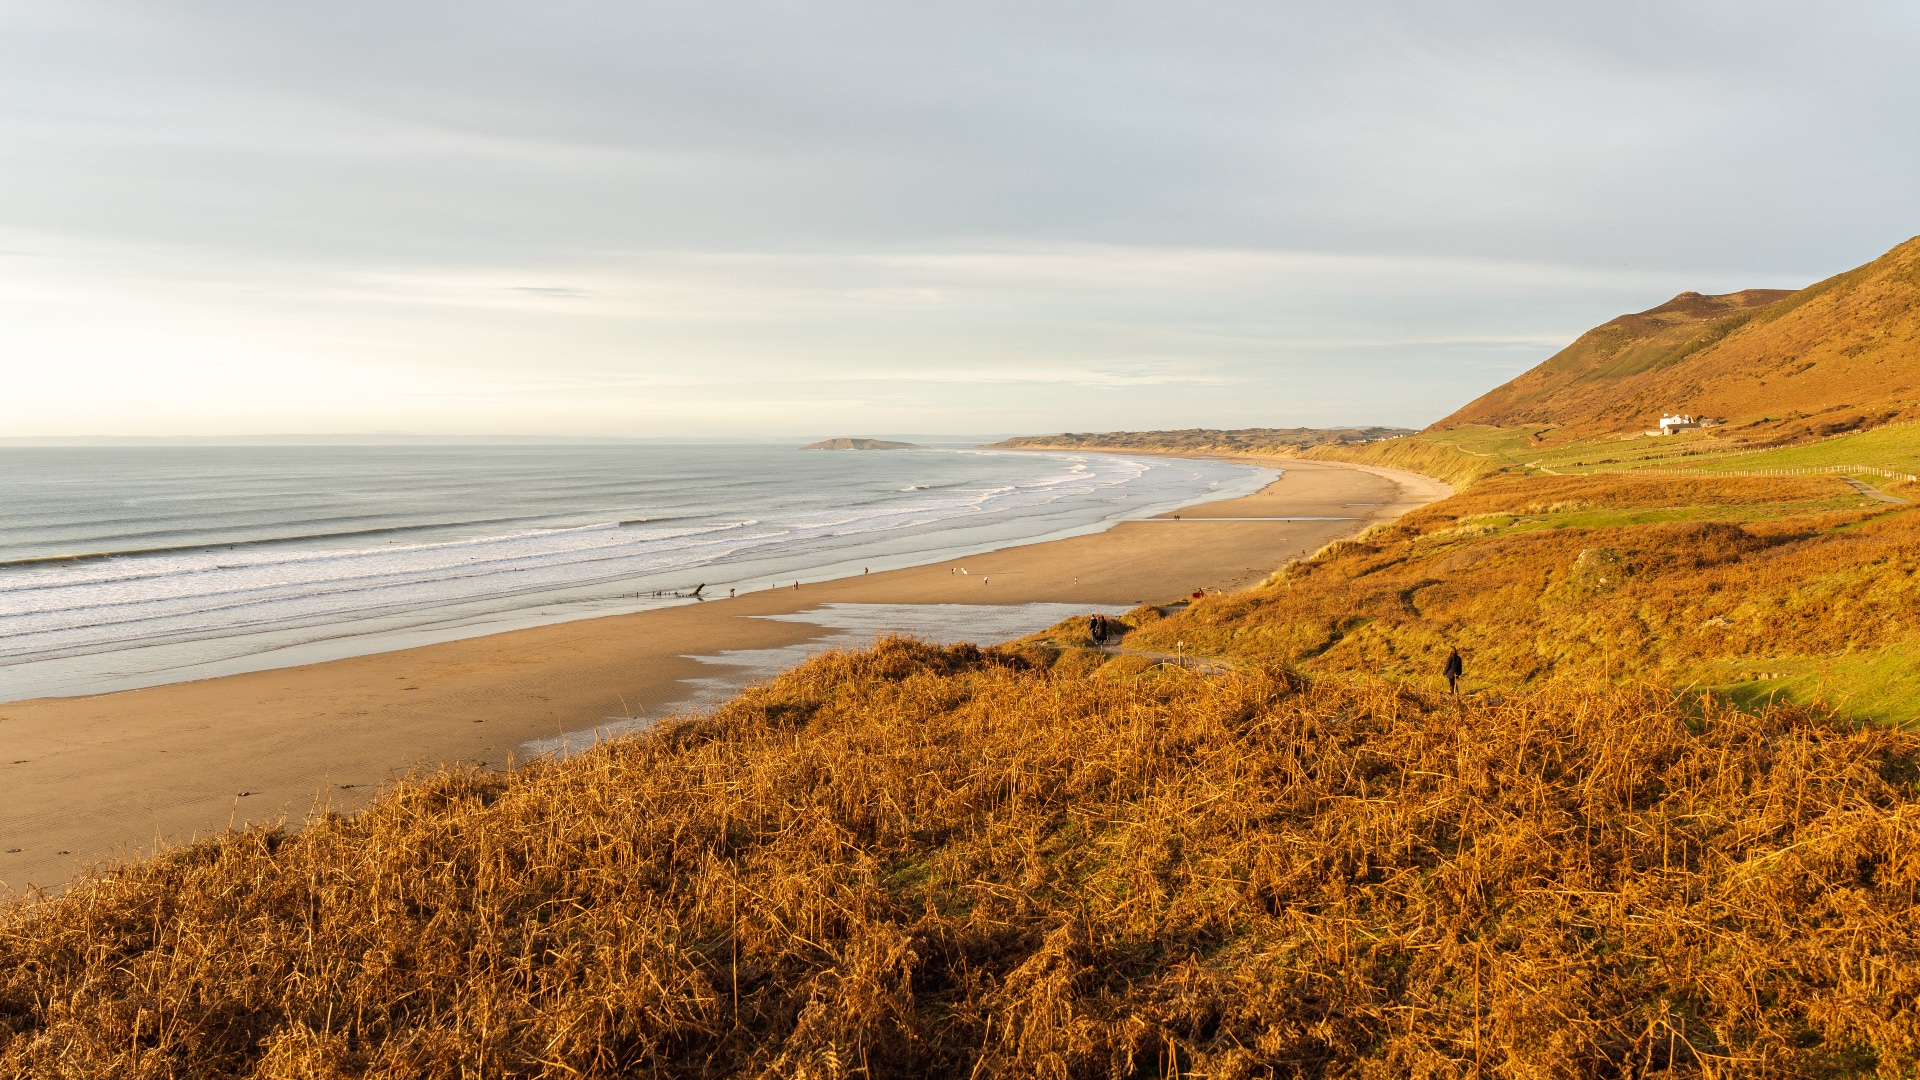
Coastal and seascape photography can be such a wonderful genre to shoot, but there’s a lot more to it than just pointing your camera at the ocean and pressing a button. When it’s not done right, you’ll end up with reflections on the water and sand in your shoes. Like any other style of photography, there’s much more to consider than you might think, so we’ve put this guide together to help you get the most out of your seascape images.
In this beginners guide to seascape photography we’ll be covering things to looks for in a camera and lenses, as well as accessories, tips on finding locations, and some settings to use to achieve the results you want.
You might find taking a peek at our beginners guide to wildlife photography helpful too (and perhaps our list of the best wildlife photography cameras) if you want to photograph some seaside animals. Or, if you’re interested in nighttime photography, then you can shoot for the stars with our beginners guide to astrophotography and night for day astrophotography guide.
What camera should you use?
When it comes to choosing a camera for shooting seascapes, one of the most important factors is making sure the camera is weather sealed. Cameras can be subjected to splashes, wind, and sand when shooting seascapes, so it’s really important to make sure your camera is protected against the elements when you’re out shooting.
Sensor size doesn’t necessarily matter too much here — most beginners will likely be using four-thirds or crop sensors which is more than adequate. The size and weight of the camera is generally down to personal preference. Small, compact mirrorless cameras are easier to carry around, which is particularly beneficial if your location isn’t very accessible. On the other hand, heftier cameras, like DSLRs, would be more stable in windier, coastal weather, so there’s a trade-off with either option.
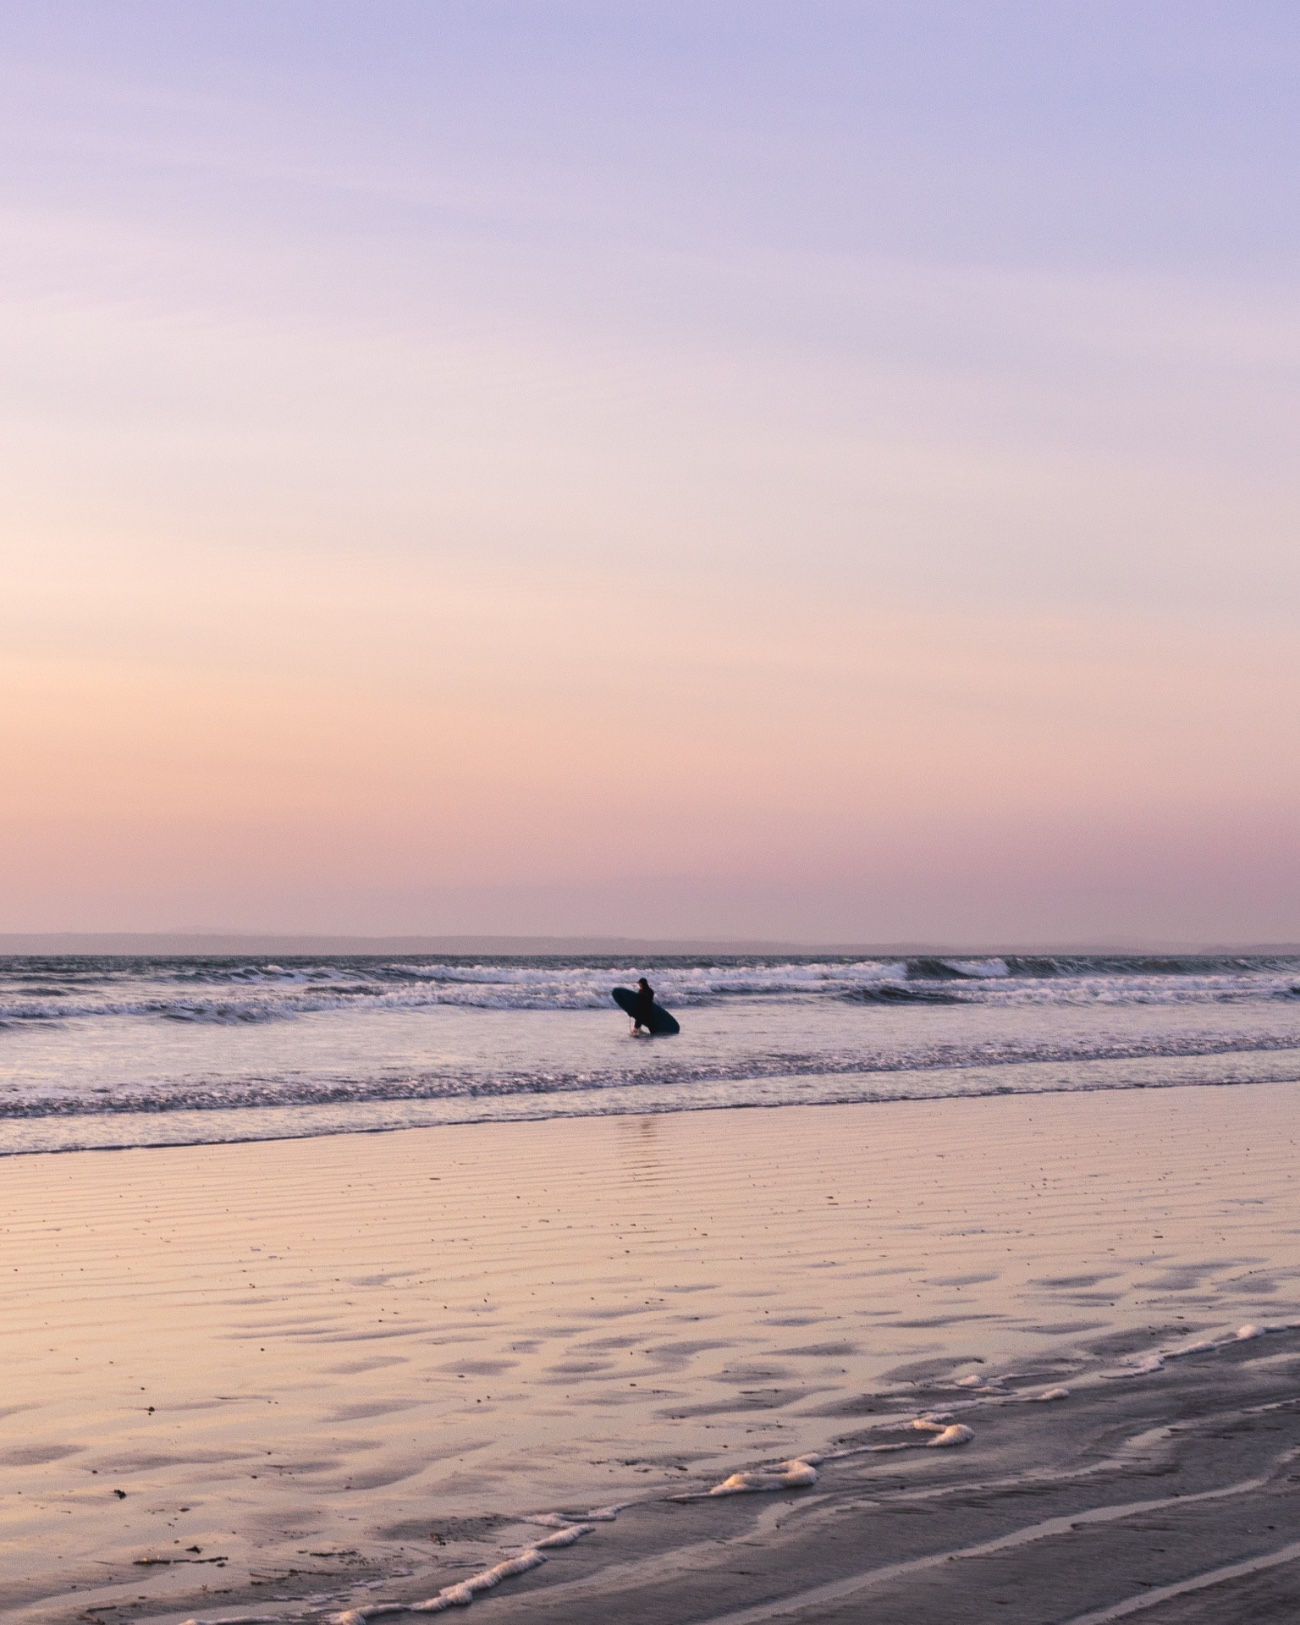
In terms of the camera’s capabilities, there aren’t many features that are specific to seascapes to think about, which is good. However, we’d always recommend getting a camera that has good autofocus and tracking (you never know when you might want to photograph surfers), and a decent FPS rate for shooting in drive mode. A tilt or fully articulating rear screen can also come in handy if you’re shooting low down to the ground and want to see your composition.
What lens should you use?
Like cameras, you really want to make sure your lens is weather sealed from the elements, not only to prevent dust spots and splashes on the glass, but to also protect the inner workings of the lens. Seascape photography is one of the photography styles where your equipment is most exposed to multiple elements, so it’s really important to take the steps to protect your gear.
When it comes to focal length, zoom lenses tend to be favored here due to their versatility. To start off with, something like a 24-70 mm would be ideal. You want to be able to shoot wide enough to fit everything in if you’re shooting an entire scene, but the higher 70 mm end will enable you to isolate certain subjects or details. While telephoto lenses do have their place in seascape photography, they usually play second fiddle to the wider focal lengths.
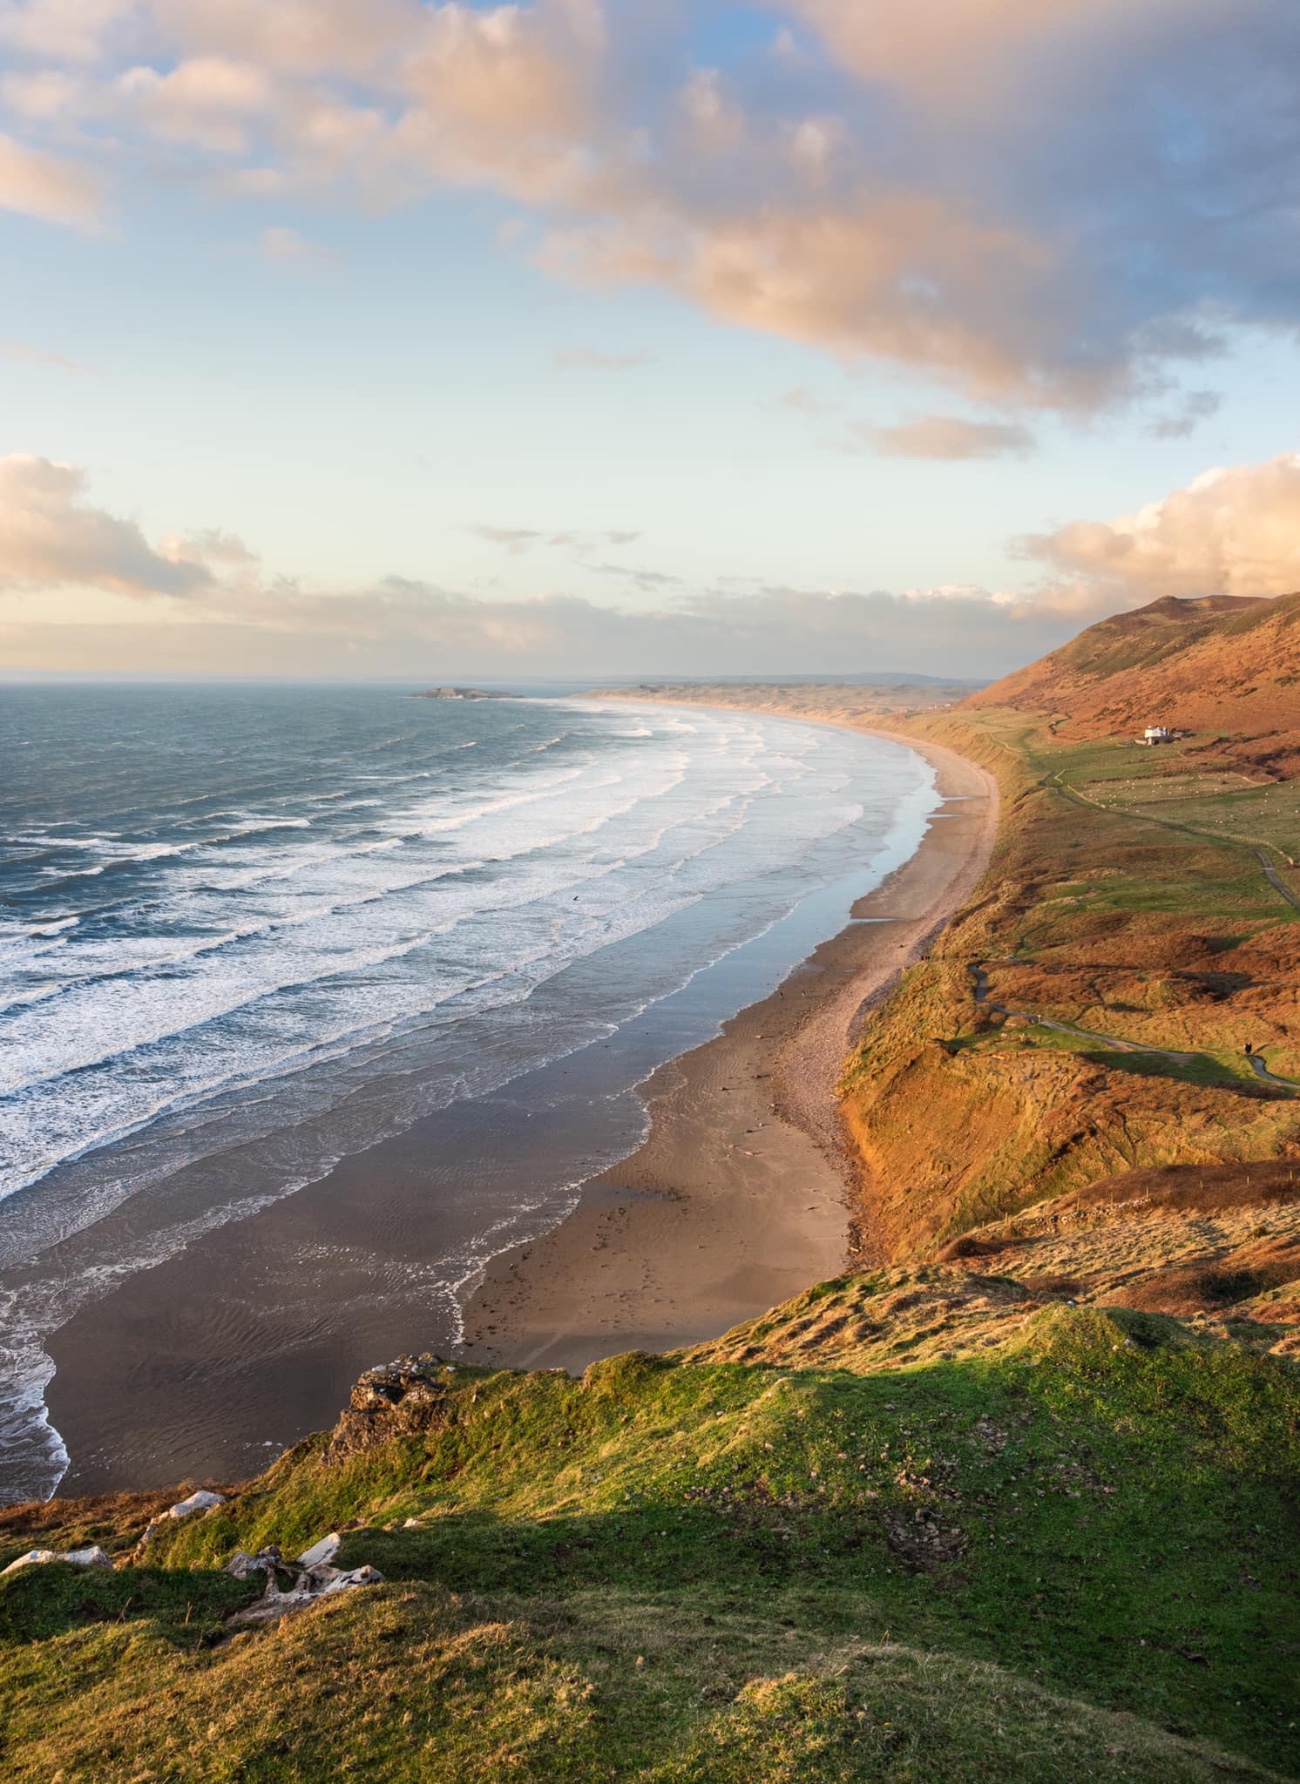
The aperture of a lens doesn’t matter too much for beginners, but we’d always recommend going wider so your camera doesn’t struggle in low light conditions. Plus, if you want to be able to freeze the movement of the water, a faster lens will definitely help with that.
Prime lenses are undoubtedly fantastic quality, however, we wouldn’t recommend them to beginner photographers due to their fixed focal length. That said, prime lenses are a great way to challenge yourself and improve your creativity by only bringing one focal length lens with you on a shoot.
What settings should you use?
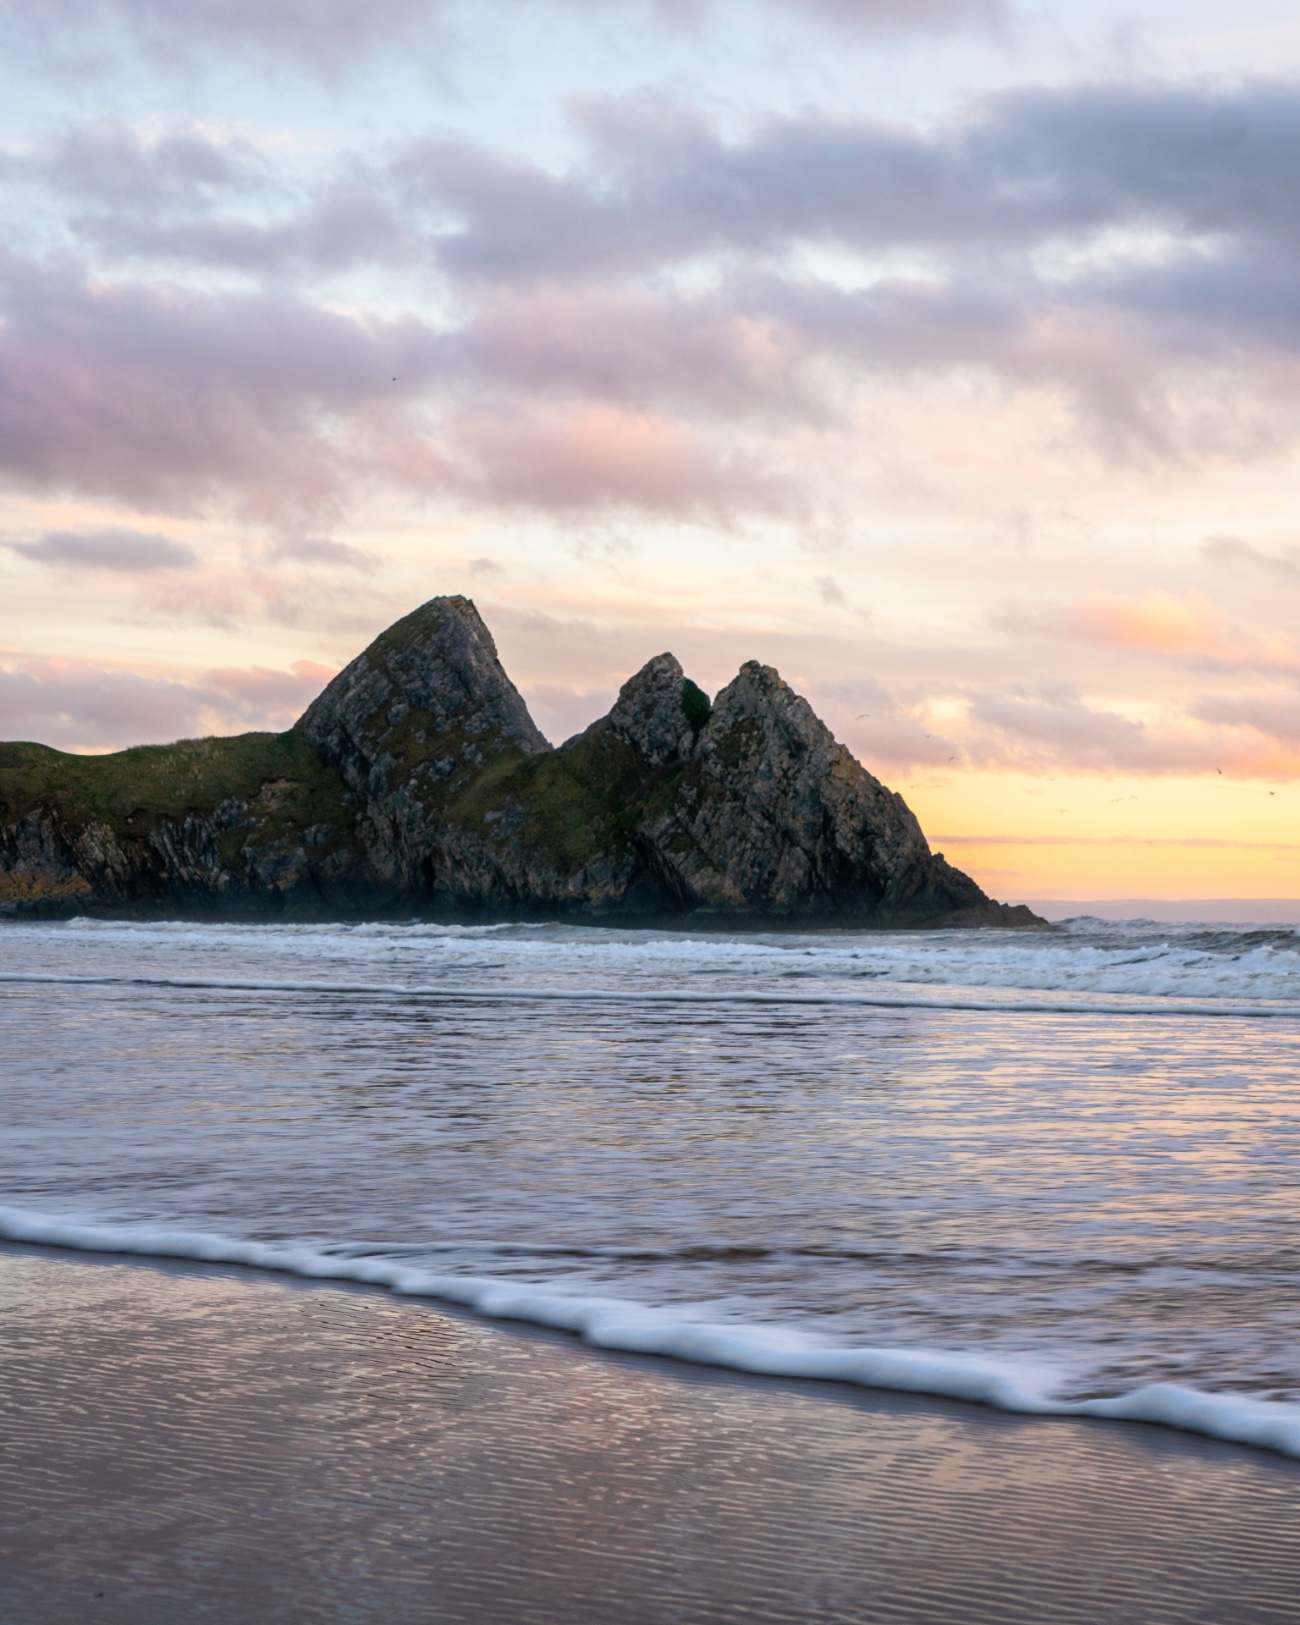
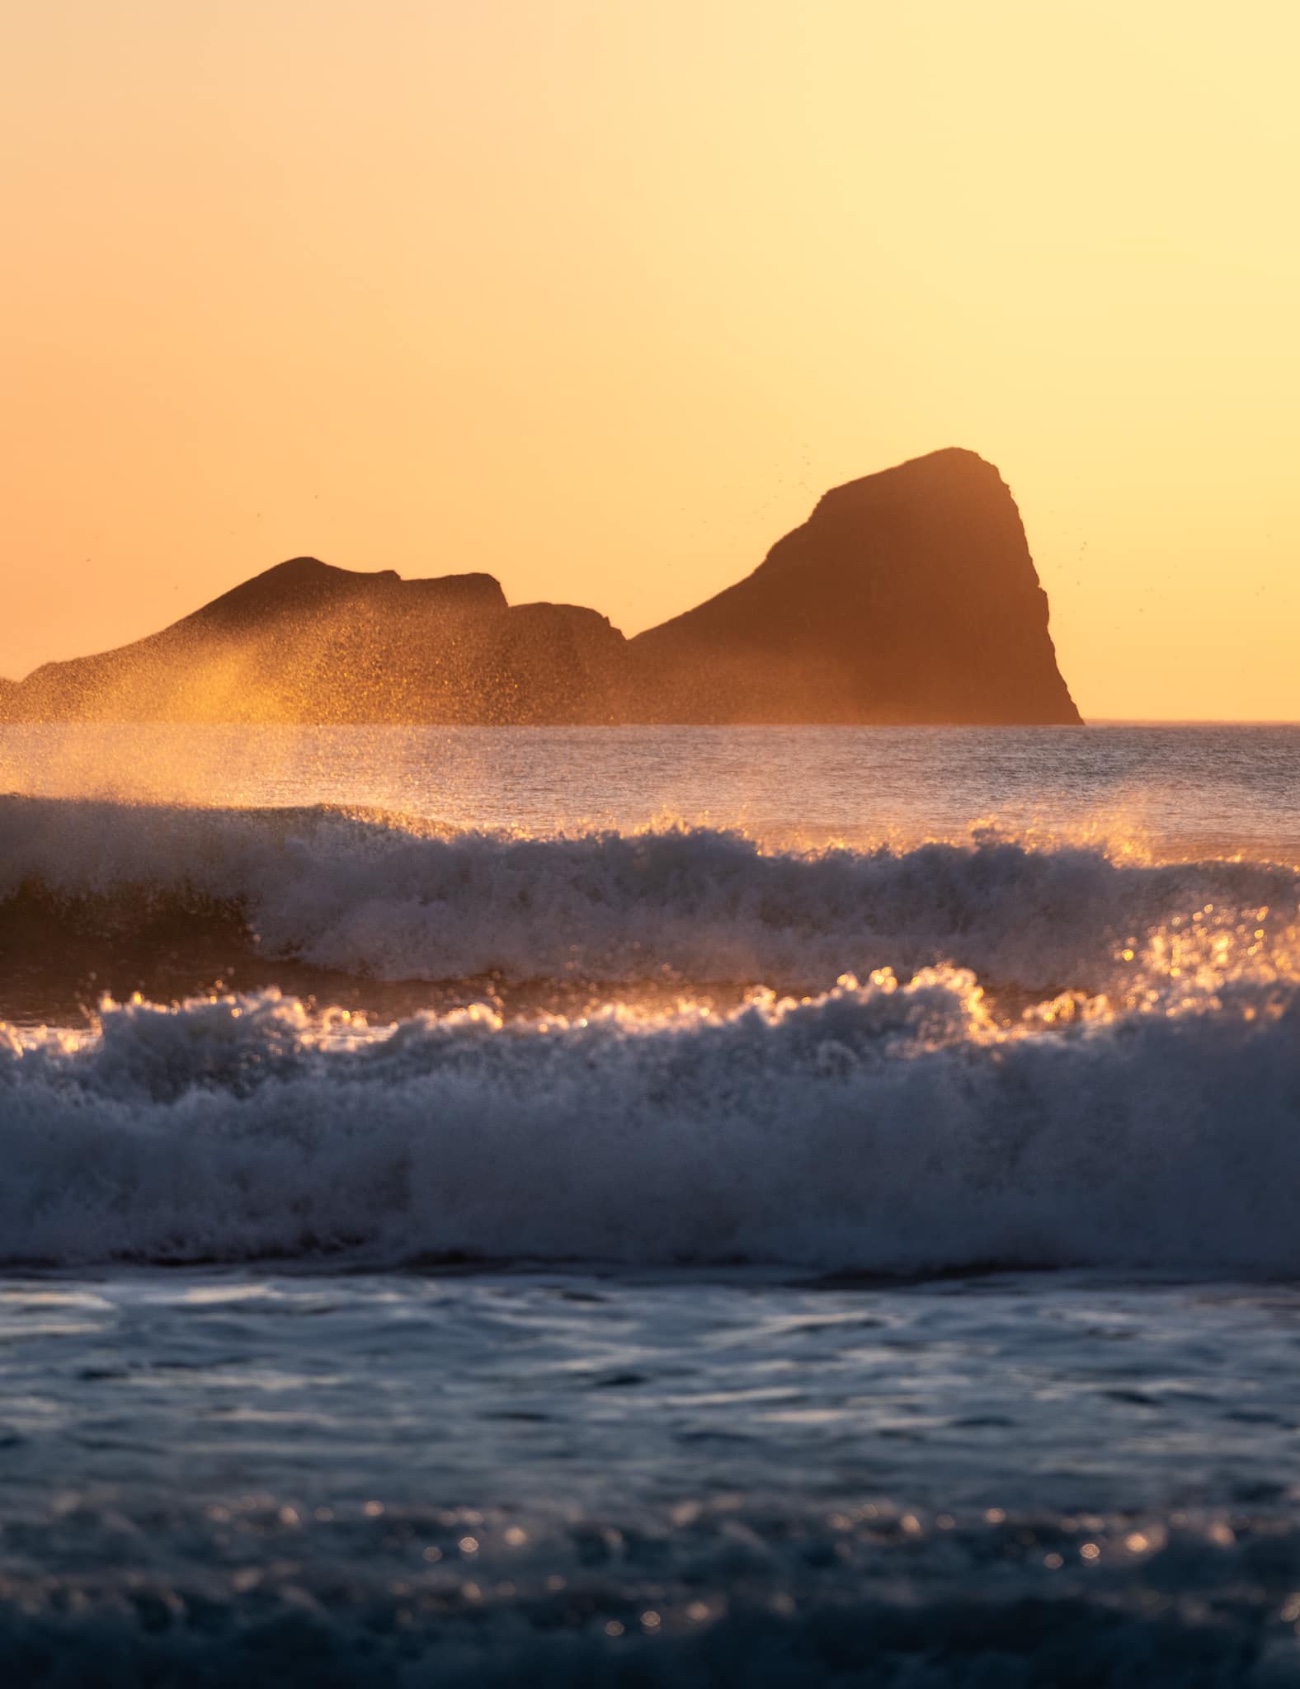
With seascape photography, you’re generally going to be creating one of two effects in the water: freezing the movement of the crashing waves, or slowing the movement to create flowing, milky water. Both of these effects are achieved by adjusting the shutter speed.
If you’re looking to freeze the movement of the water to capture dramatic waves, you’ll want a fast shutter speed (as fast as your camera can handle depending on the amount of light). However, if you’re looking to create the look of soft, flowing water, you will need a slower shutter speed. Generally, anything from around 1/50 and under will do the trick, but do experiment with different shutter speeds as each one will create a different effect. There’s no right or wrong answer, it just depends on what you prefer.
To start off with, try putting the camera into shutter priority while you experiment with shutter speeds, and the camera will choose the correct aperture and ISO for you. For freezing the action of crashing waves, it can help to have the camera on drive mode so you can capture multiple frames at a time.
What to look for
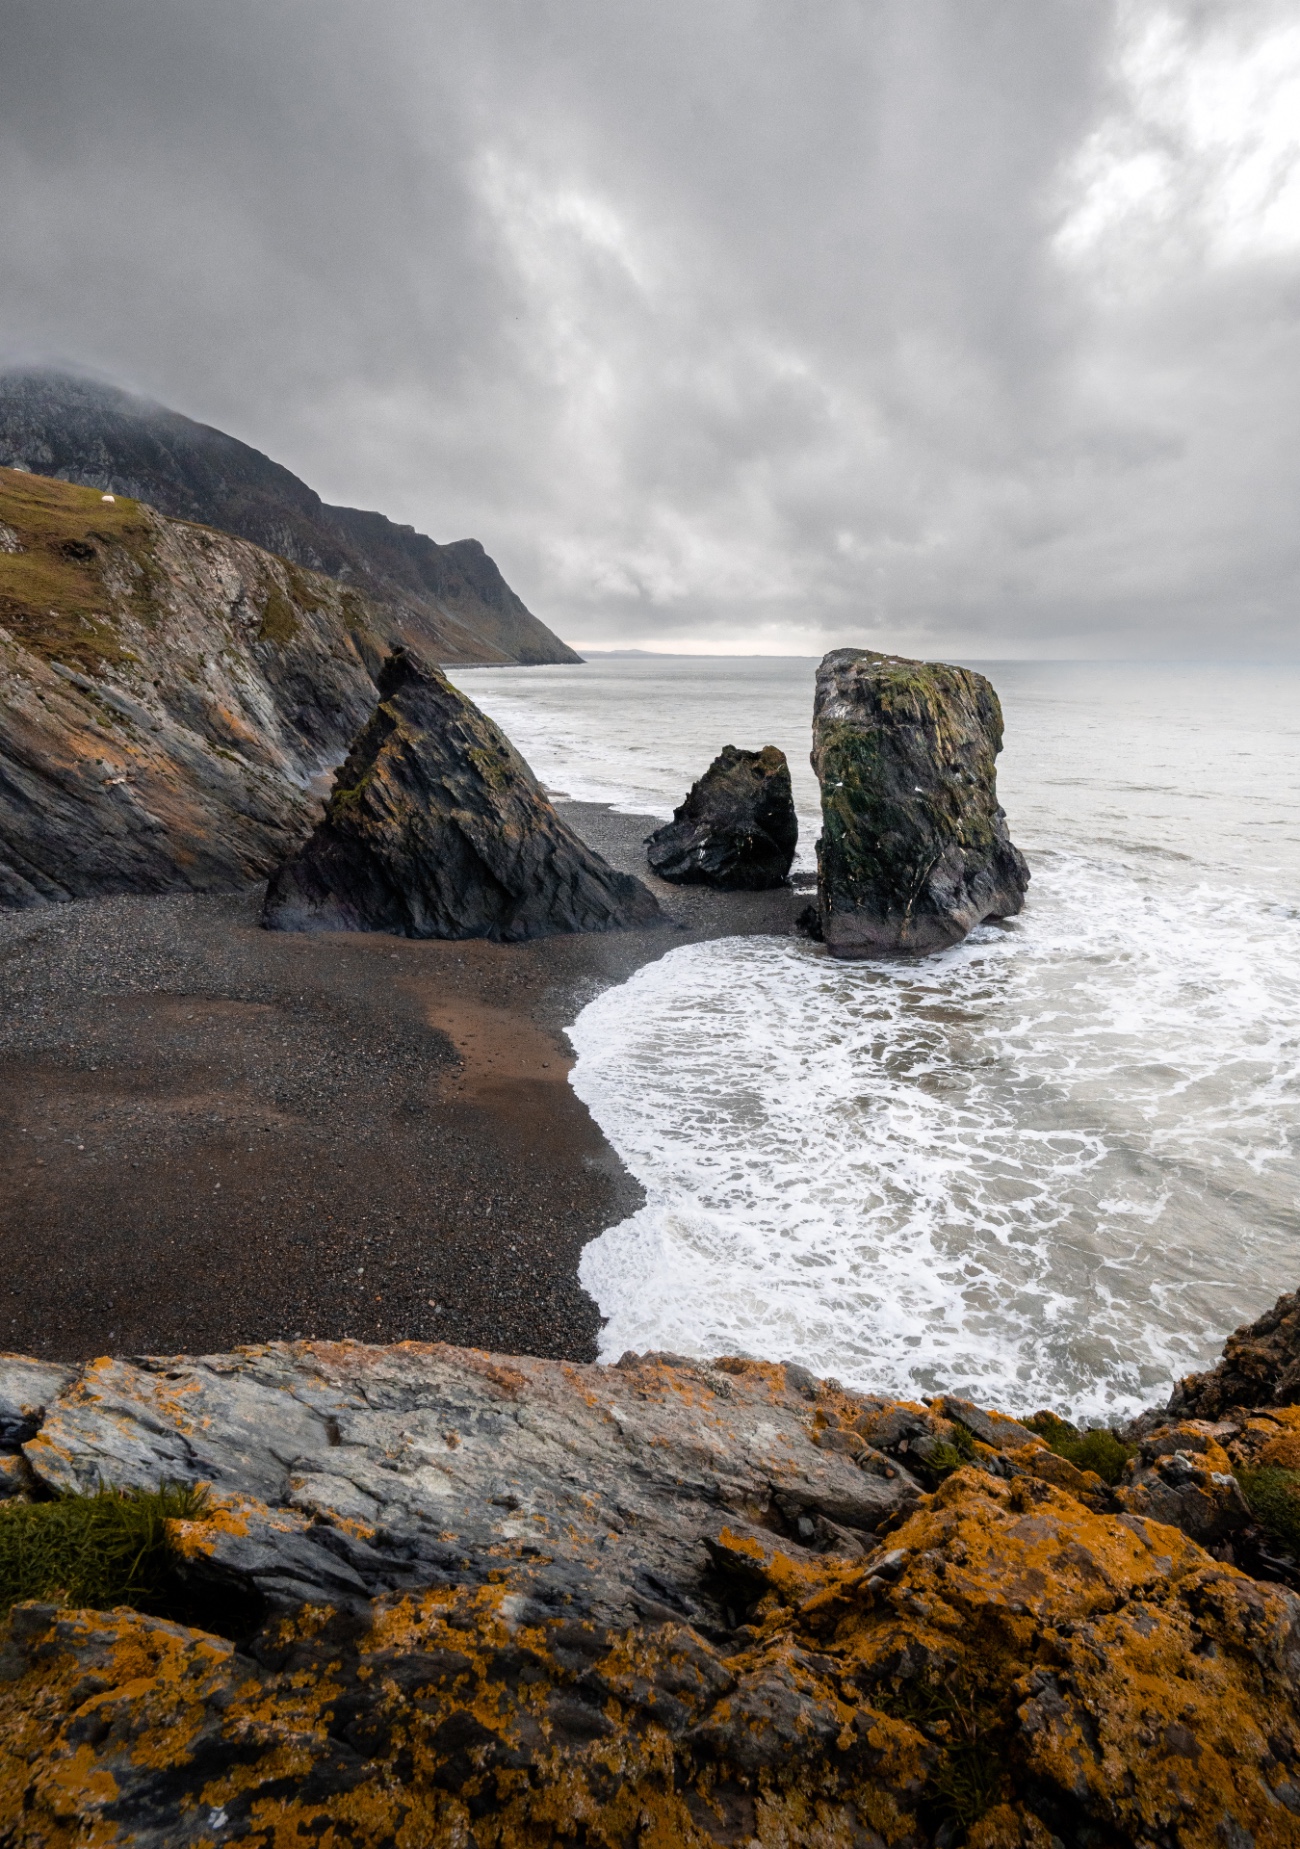
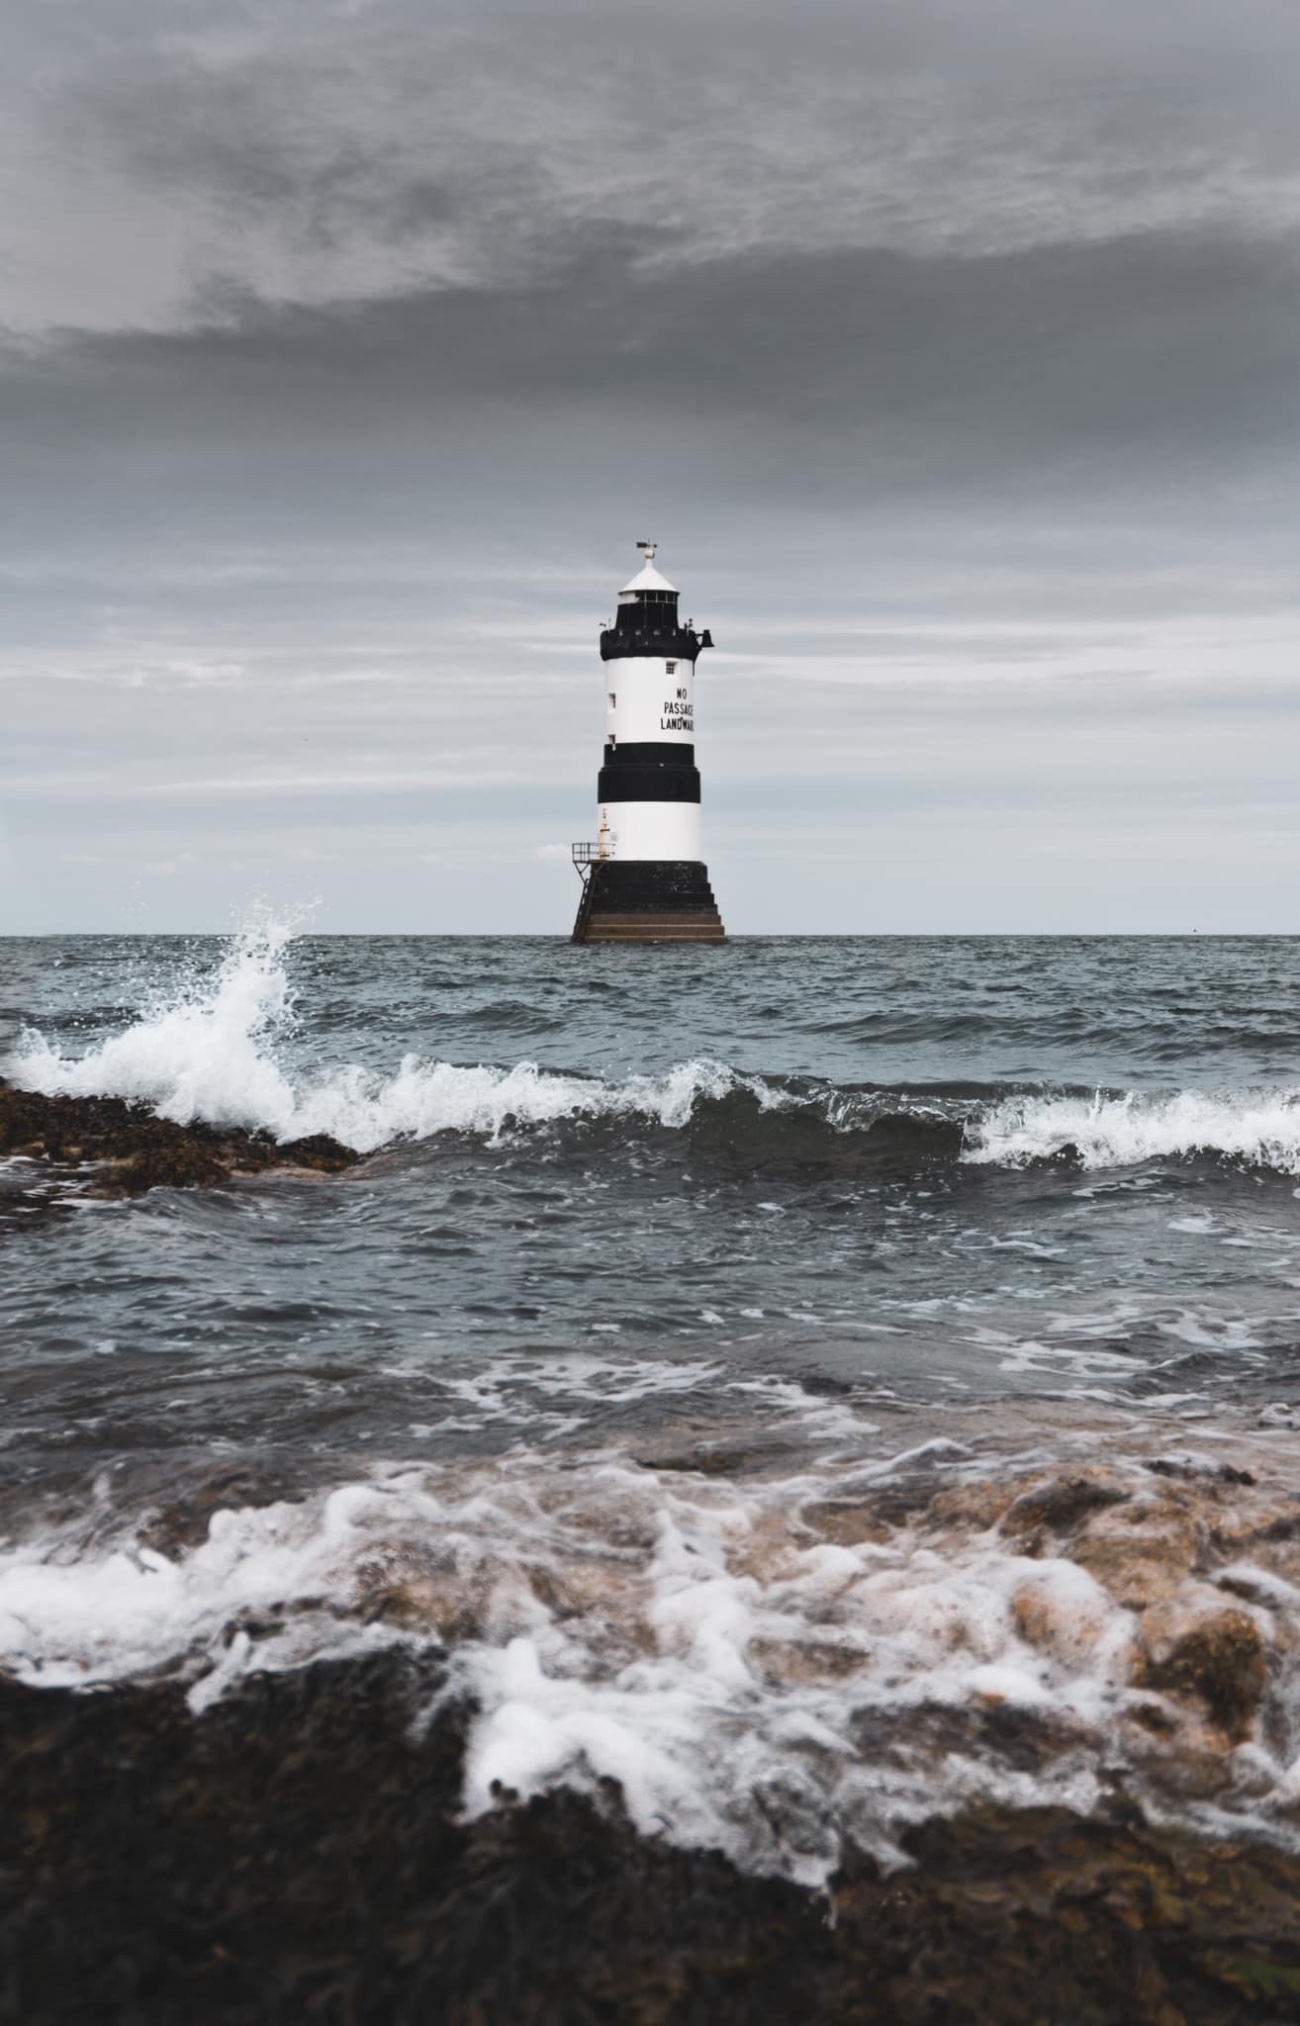
Taking seascapes isn’t just photographing the water, though. Think about the scene as a whole, and what the focal point of your image is going to be. There’s an abundance of subjects to shoot at the coast: beaches, cliffs, sea stacks, natural arches, lighthouses, shipwrecks… the list goes on!
Try looking for textures and patterns that add to the scene, and ask yourself: “What’s the story here?” Adding people into your images is a great way to add scale, especially if they are stood on top of a cliff, and you can easily add texture by including patterns in the sand or some long grasses.
Location & weather conditions
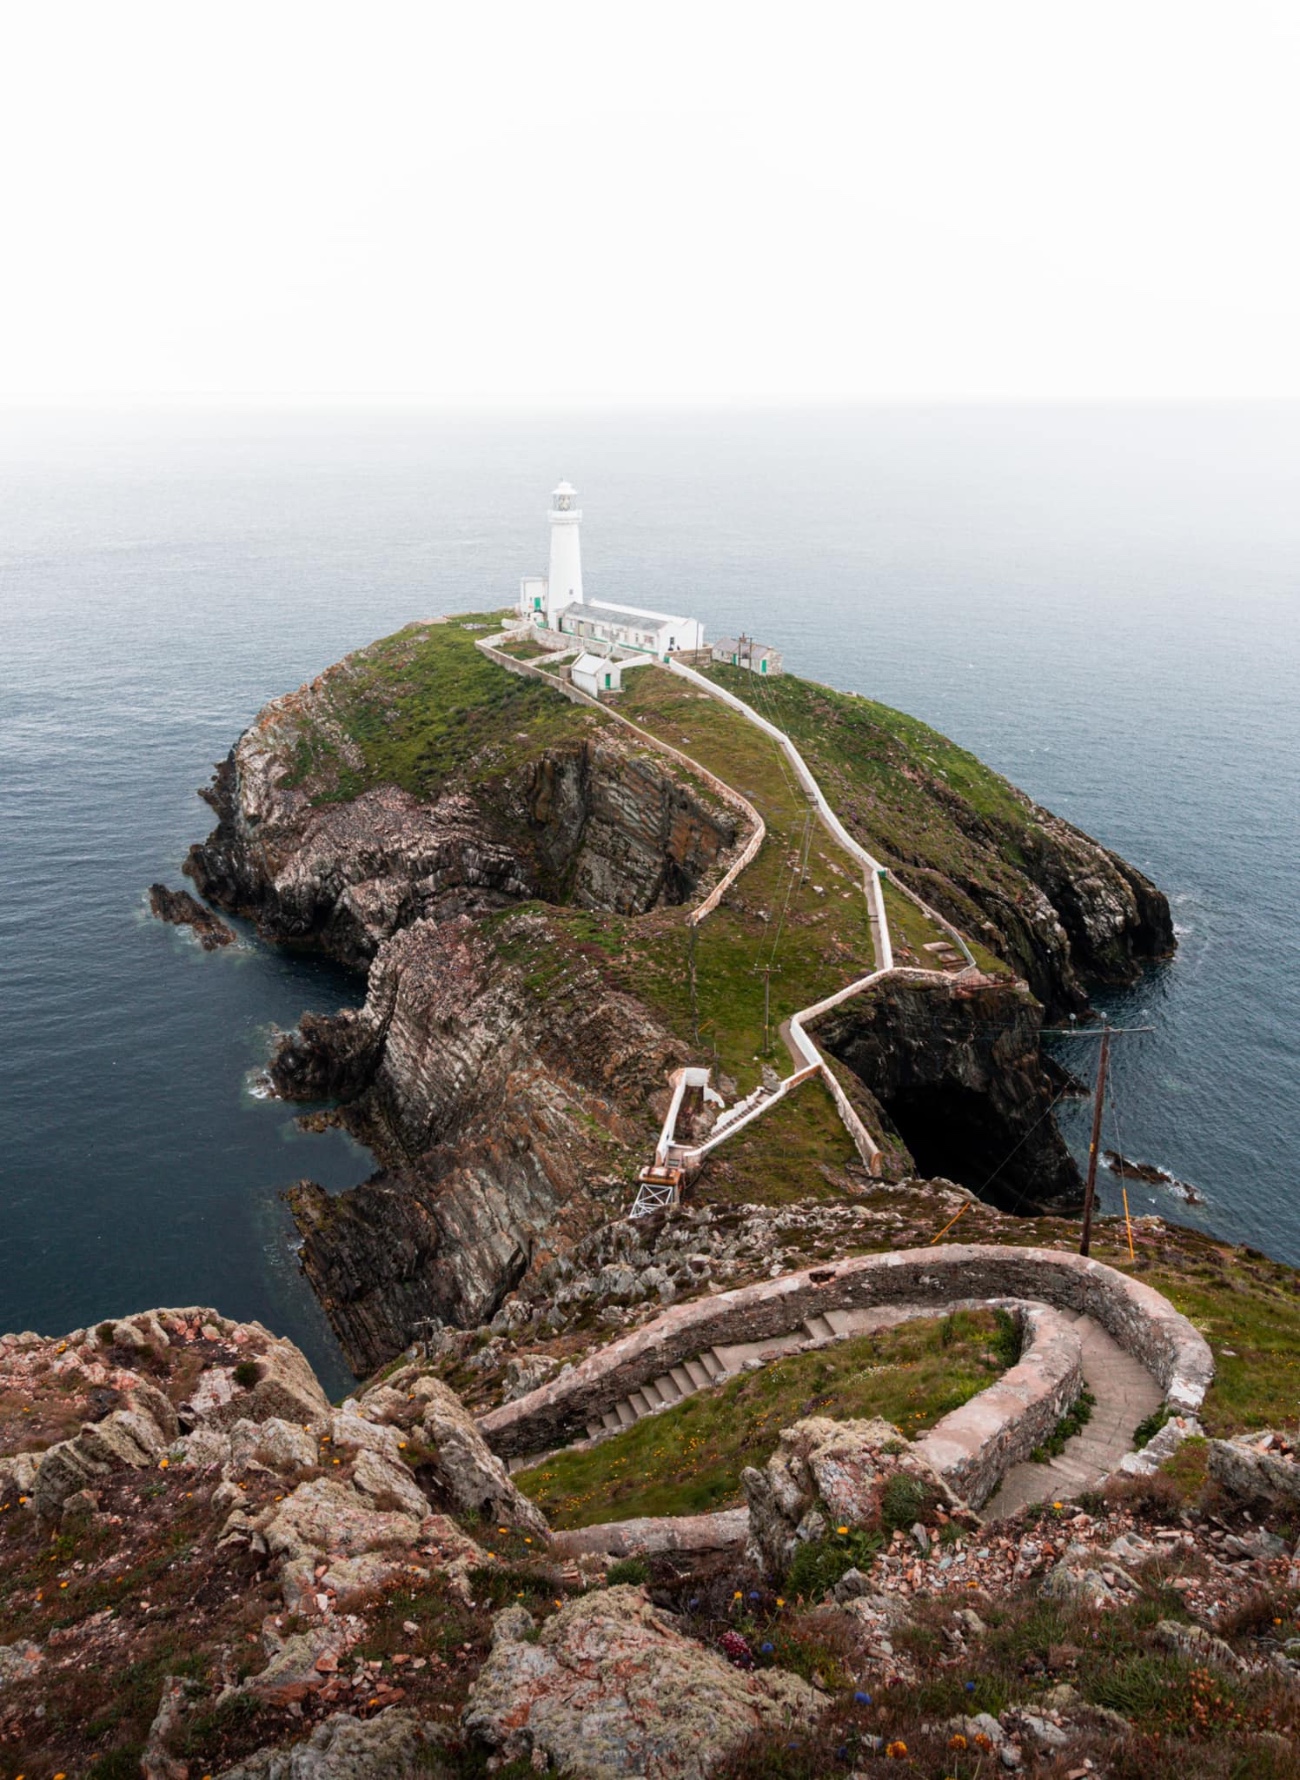
Another important thing to consider is your location and the weather conditions. Flat light or bright sunny days don’t tend to make the best photos, so it’s great to practice seascape photography when it’s either dark and stormy or in the warm and soft evening light. Windy days are great for capturing crashing waves against rocks and sea stacks for those really dramatic shots.
Think about how your location will look at different times of the day: Where does the sun rise and set? What parts of your scene will be lit by the sun at certain times of day? What are the tide times? By taking the time to plan out your shoot, you can get a variety of different images all from the same spot.
There are some really useful apps to help choose a location, and many of them even tell you where the sun is going to be in your scene. Google Maps is great for location scouting, and for sunrise and sunset information and locations, try The Photographer’s Ephemeris (sign up for free) or PhotoPills (costs $10.99, but full of fun, helpful features).
What accessories are useful?
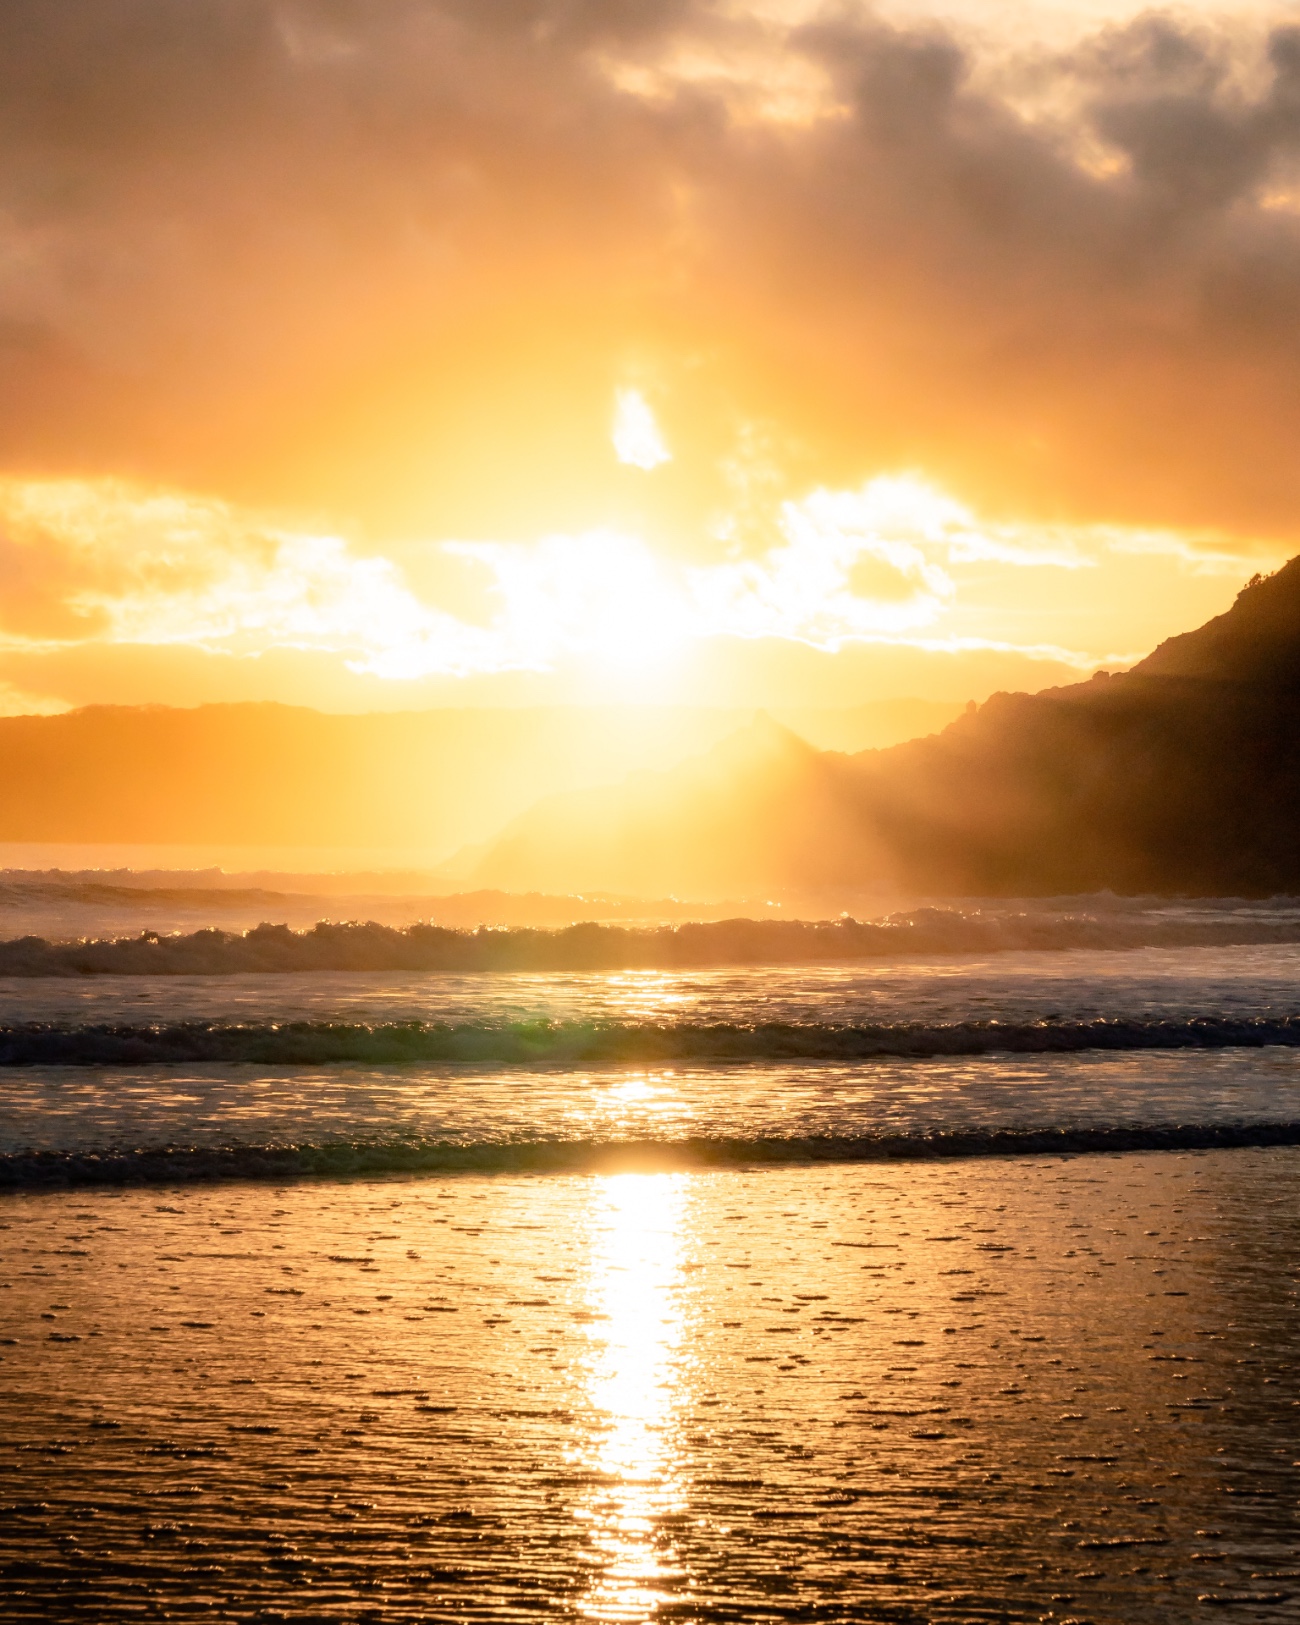
A problem you often find with seascape photography, as well as when shooting any kind of moving water, is you’ll get glare and reflections off the water that can be very distracting in your image. Using a polarizing filter can eliminate the reflections and give you a much cleaner image, and it also makes the colors pop more. You can also make use of a neutral density (ND) filter which acts a bit like sunglasses for your camera. If it’s a really bright day or you want to slow down the movement of the water without letting too much light in — the ND filter will reduce the amount of light going in. They’re available in different intensities, and the type you get will depend on how long of an exposure you want to shoot.
If you want to slow down the movement of the water, you’ll also need a tripod. Two handy tips here; firstly, bring a bottle of water to rinse off any sand from the tripod, and this will also get rid of any salt left from the sea water; and secondly, when you’re putting your tripod on the sand, make sure you extend the bottom feet section, so if there is any sand left once you’ve rinsed it off, it will only be in that bottom section (we learned this one the hard way).
Don’t forget about protecting yourself too. If you’re going to be shooting with your tripod in the water, then wellies or waterproof shoes are a must. A waterproof jacket won’t go amiss either.
Finally, in post you can transform your snaps by touching up your photos using photo editing software (such as PhotoShop) and one of the best laptops for photo editing. It’s great for helping to fix any wonky shorelines or blown out clouds in the sky.
Sign up for the Live Science daily newsletter now
Get the world’s most fascinating discoveries delivered straight to your inbox.
Kimberley Lane, E-commerce writer for Live Science, has tested a wide range of optics equipment reviewing cameras, lenses and tripods, and getting hands-on observations with binoculars and more. Also a landscape & seascape photographer living in South Wales, she aims to portray a feeling of calm and peaceful moments through her images. Her work has also been featured in a number of national photography magazines and she regularly contributes to our sister site Space.com.

